
I love squeezing big savings out of flight searches. I do not love that sinking feeling when a delay turns a clever itinerary into an expensive mistake. If you’ve ever eyed a cheap self-transfer or thought about booking your own connections on separate tickets, this guide is for you.
Let’s walk through how to do it deliberately and safely so you don’t end up sleeping on an airport floor with a maxed-out credit card.
1. First Decision: Is a Separate-Ticket Connection Even Worth It?
Before you start piecing flights together, you need to answer one question honestly:
Is the risk worth the savings and flexibility?
When you book a normal connecting ticket, all flights sit under one booking (one PNR). The airline or alliance is responsible for getting you to your final destination. If you miss a connection because of their delay, they usually rebook you. On separate tickets, each leg is its own contract. Miss the second flight because the first one was late? That’s on you.
So why do people still book separate tickets for connecting flights?
- Lower prices. Flying a major carrier to a hub, then a low-cost airline onward, can be dramatically cheaper. Tools like Google Flights and virtual interlining sites make these combos easy to spot.
- Better use of points. Maybe you can snag a great award seat to a hub, but not all the way. So you add a separate cash ticket for the last leg.
- More flexibility. You can mix airlines, cabins, or even airports in the same city. You can also build in intentional stopovers and DIY flight connections that don’t show up on standard searches.
The trade-off is simple but brutal:
Money & flexibility vs. protection & peace of mind.
I only consider unprotected, separate-ticket connections when at least one of these is true:
- The savings are substantial (not $40… think $150+ per person).
- I’m comfortable paying for a last-minute backup ticket if things go wrong.
- I can afford to arrive late or even a day later (no immovable cruise departure, wedding, or job interview).
If none of that applies, I stop right there and look for a single through ticket instead of juggling separate bookings.

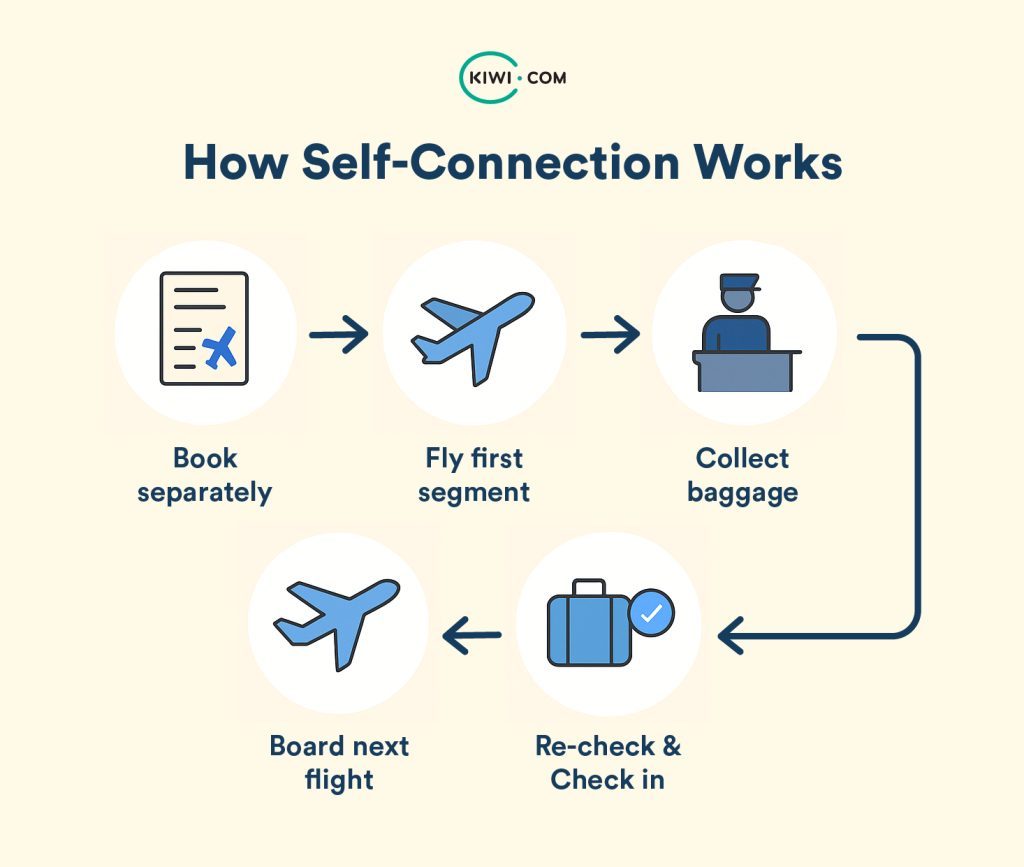
2. The Protection Gap: What You Actually Lose on Separate Tickets
Most travelers underestimate this part. Self-transfer flights don’t just mean “a bit more hassle.” They change your rights.
On a single ticket (one PNR):
- The airline (or booking platform) is generally responsible for getting you to your final destination.
- If a delay or cancellation causes a missed connection, they usually rebook you at no extra cost.
- In some regions (like the EU), compensation rules often apply to the whole itinerary.
- Automated rebooking tools and disruption support are more likely to kick in.
On separate tickets:
- Each airline only cares about its own flight. They see your trip as unrelated journeys.
- If your first flight is late and you miss the second, the second airline can simply mark you as a no-show.
- They’re not obligated to rebook you for free, even if it’s the same airline on both legs.
- Schedule changes on one ticket don’t give you any automatic rights to change the other.
Contracts of carriage often spell this out clearly: they’re not liable for a separate ticket missed connection. Many people never read that fine print and assume “the airline will help.” Sometimes they do, out of goodwill. Often they don’t.
So when I’m tempted by a cheap self-connecting itinerary, I ask myself:
If the first flight is delayed by 3 hours, am I okay paying full price for a new onward ticket?
If the answer is no, I either buy a protected itinerary or build in a huge buffer between flights.
3. The Real Question: How Long Should Your Self-Connection Be?
This is where most people get burned. They see a 55-minute layover and think, Well, the website offered it, so it must be fine.
That’s Minimum Connection Time (MCT) thinking. MCT is designed for ideal conditions on a single ticket, not for real life on separate bookings.
For self-transfer flights, I use my own, much more conservative rules of thumb for planning layover time on separate flights:
Domestic–Domestic (same country)
- Carry-on only: I aim for 3 hours minimum.
- With checked bags: I push that to 4 hours, especially at busy hubs.
International connections
- Domestic → International: I like 4 hours minimum.
- International → International: I’m happiest with 4–5 hours, more if immigration is involved.
- International → Domestic (back home): I often plan 4–6 hours because of immigration, baggage, customs, and re-check.
Yes, that’s a lot of time. But remember:
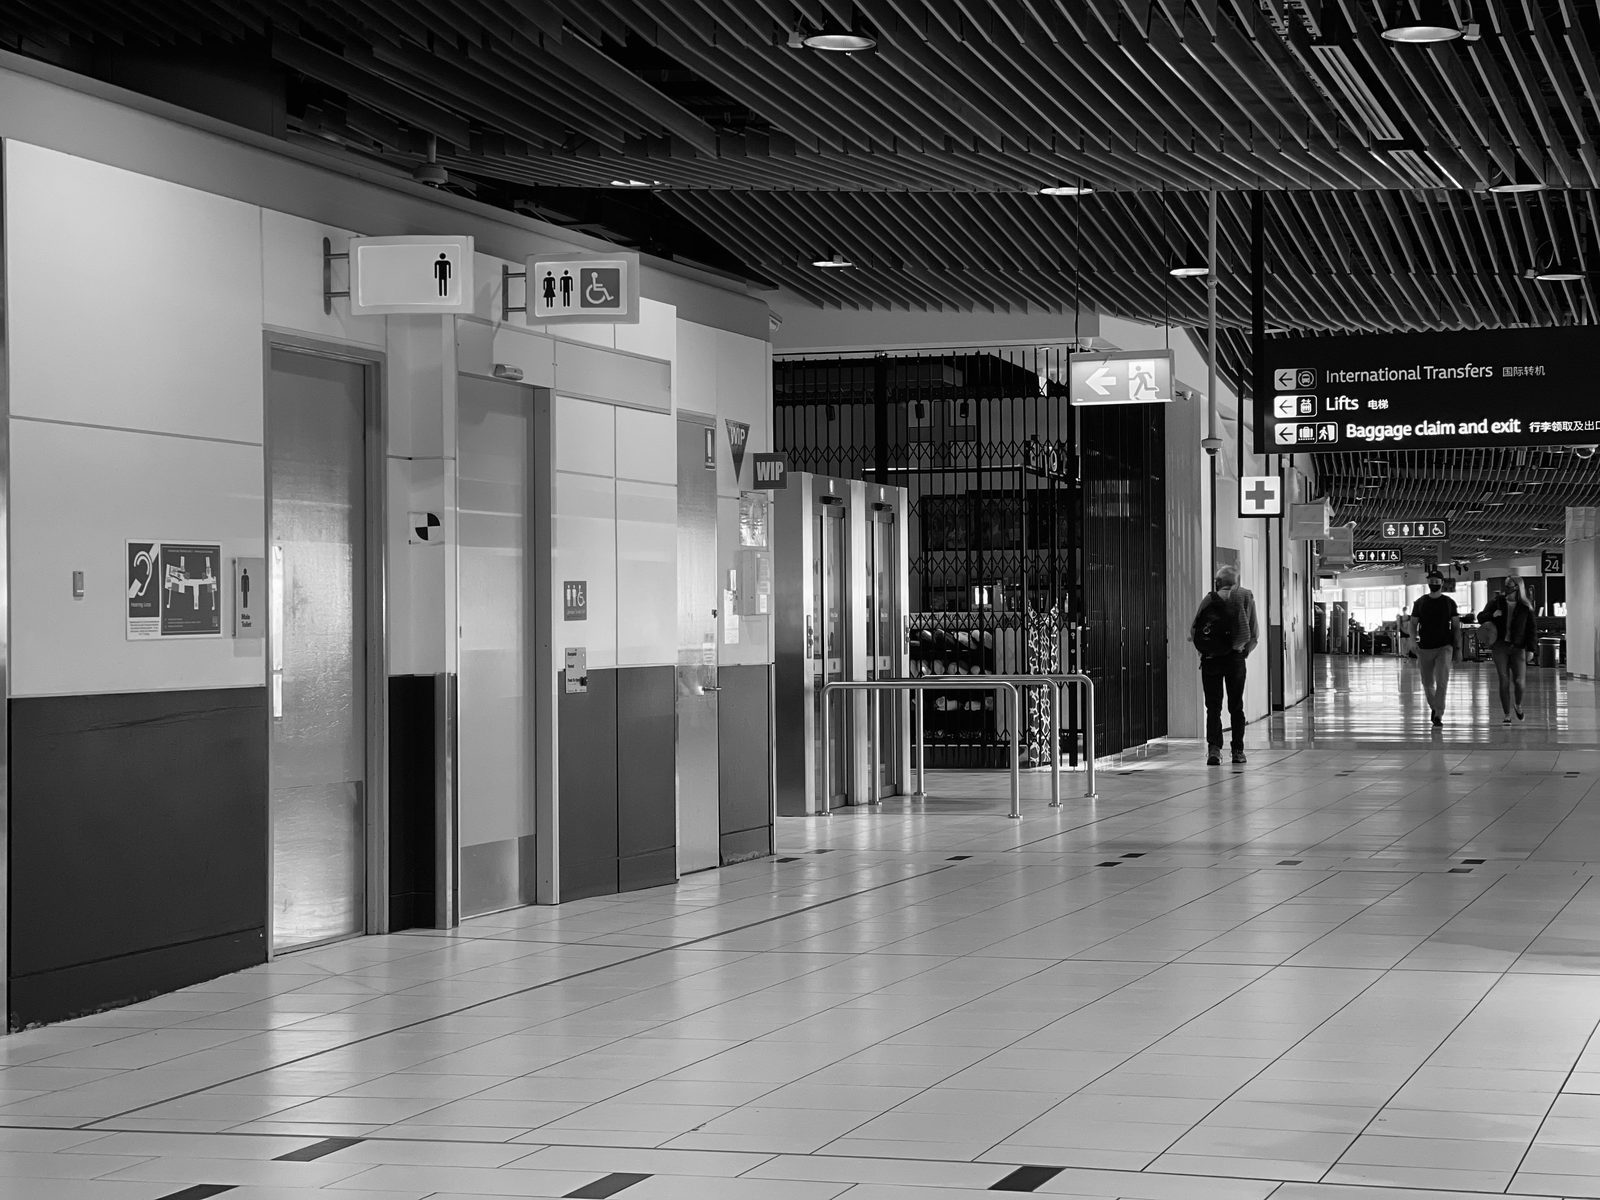
- You may need to collect bags, exit the secure area, re-check bags, and go through security again.
- Boarding often closes 30–45 minutes before departure, especially on international flights.
- Immigration lines can easily eat an hour or more, particularly in Europe and at peak times.
Here’s how I sanity-check the minimum layover for separate tickets:
- Look up the airport layout and terminals. Are you changing terminals? Using a bus or train between them?
- Check the second airline’s check-in and bag drop cut-off. Work backward from that time, not from departure time.
- Add realistic time for deplaning, immigration, baggage claim, customs, terminal transfer, and security.
- Then add a buffer for delays. I like at least 1 extra hour on top of all that.
If the math doesn’t work, I either choose a later onward flight or abandon the self-connection idea. The safe layover time for self transfer is almost always longer than you think.

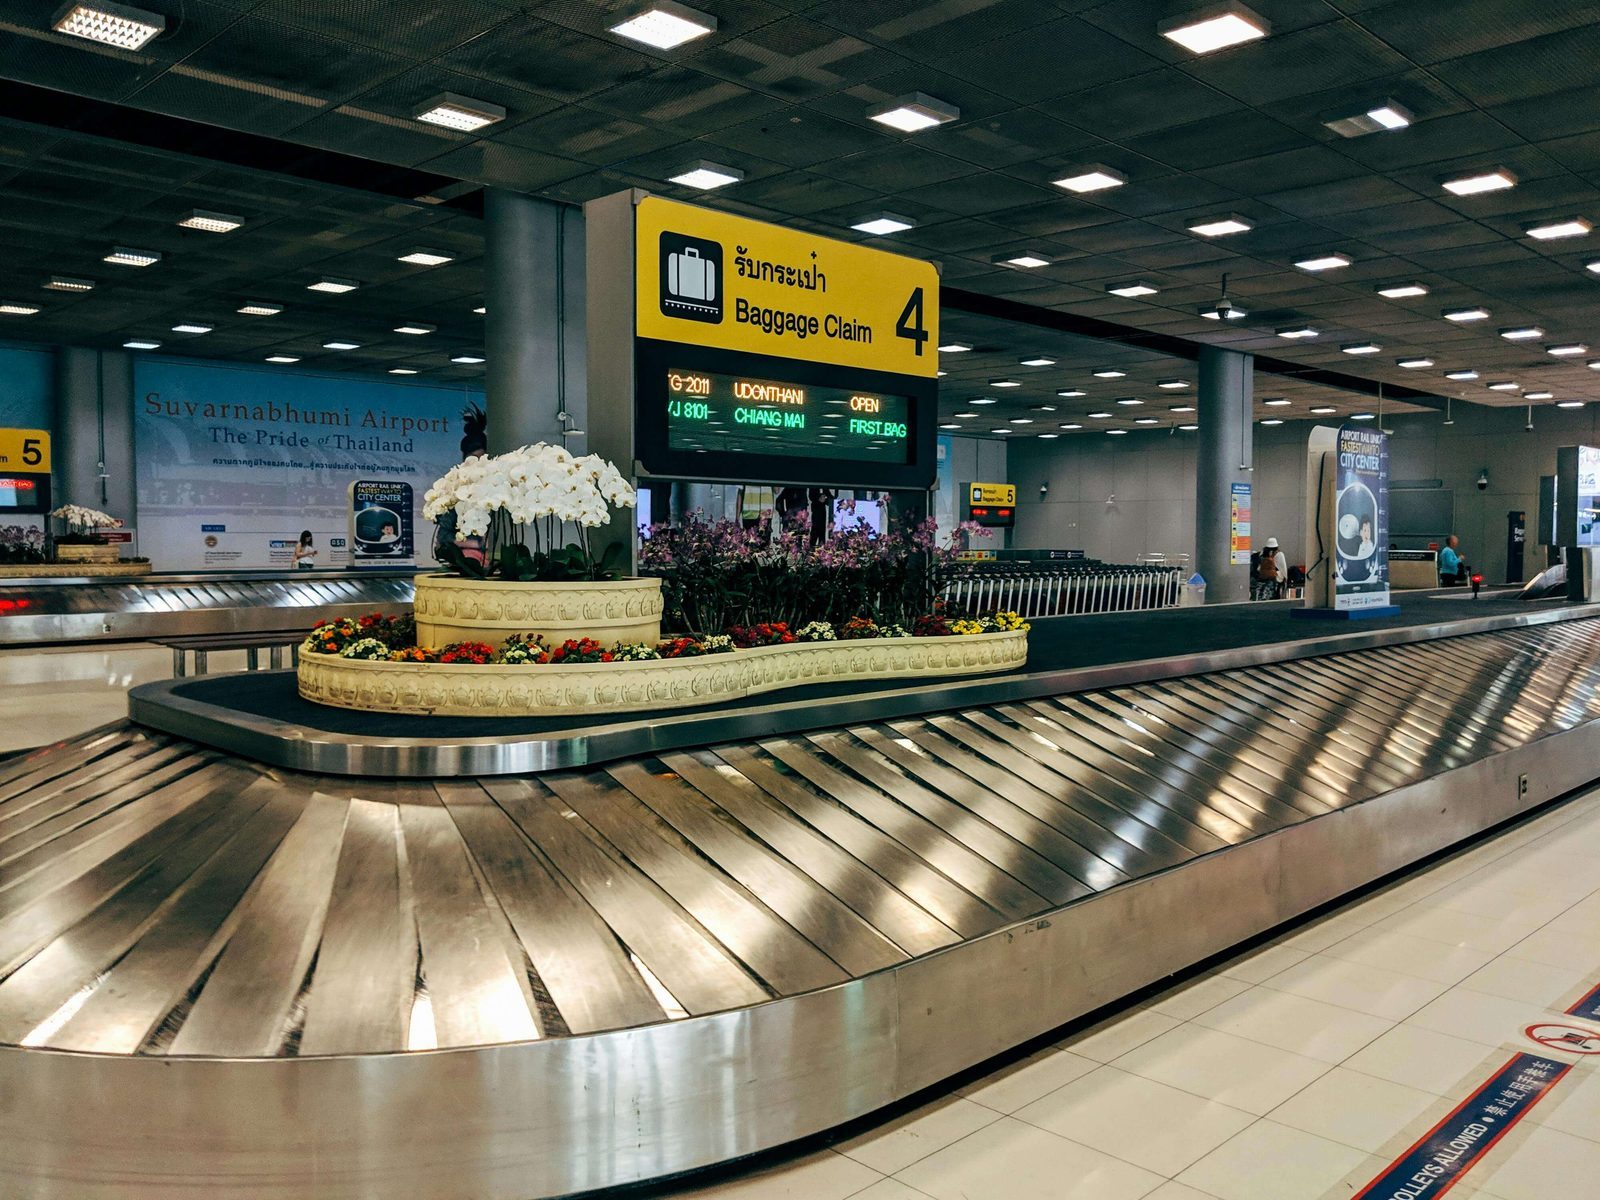
4. Bags: The Single Biggest Thing That Will Make You Miss Your Flight
If you remember only one thing from this article, make it this:
Carry-on only is the safest way to book separate connecting flights.
Checked bags are where self-transfers go to die. Here’s why:
- Airlines are not obligated to check your bag through to another ticket.
- You may have to collect your bag, go landside, and re-check it with the next airline.
- Bag drop cut-offs are often earlier than boarding cut-offs.
- If your bag misses the second flight, it might be stuck for a day or more, and you have no through-ticket protection.
So my default rule is simple: if I’m on separate tickets, I do everything I can to avoid checking a bag.
When I absolutely must check luggage, I get very methodical:
- Check the second airline’s bag drop deadline (often 45–60 minutes before departure, sometimes more for international).
- Work backward: how long to deplane, immigration, baggage claim, customs, terminal transfer, and security?
- Add at least an extra hour for delays and slow baggage handling.
If that total isn’t comfortably under your layover time, you’re gambling with your trip.
One more subtle risk: even if your first airline offers to check your bag through to the final destination on a separate ticket, you may be creating problems with customs or visa rules (for example, needing to physically clear customs with your bag in the first country of entry). I always confirm how immigration and customs work on that route before saying yes.
5. Choosing Airlines, Routes, and Airports That Won’t Betray You
Not all self-connecting itineraries are created equal. Some are relatively sane. Others are almost designed to fail.
Here’s how I stack the odds in my favor and reduce the risks of self connecting flights:
Pick airlines with decent on-time performance
Some carriers are notorious for delays. If I’m building my own connection, I avoid airlines with chronic punctuality issues on the first leg. A late first flight is the most common failure point.
Be careful with ultra-low-cost carriers
They can be perfect for a final short hop, but:
- They often have strict baggage rules and high fees.
- They may have limited daily frequencies on a route.
- Customer service can be minimal when things go wrong.
If I use a low-cost carrier on a separate ticket, I usually put it at the end of the journey, not at the start of a long chain of flights.
Choose airports you can actually navigate
Some airports are compact and efficient. Others are sprawling puzzles with long walks, buses, and surprise security checks. Before I commit to a self-transfer, I:
- Look up the airport map and terminal info.
- Check if I’m changing terminals or even airports (some cities have multiple airports).
- Search online for real traveler experiences at that airport.
If I’m unfamiliar with the airport, traveling with kids, or arriving at a peak time, I add even more buffer or avoid self-connecting there altogether.
Watch out for visa and entry requirements
On separate tickets, you often have to enter the country to collect and re-check bags. That means you may need a visa or must be eligible for visa-free entry. If you can’t legally enter, you can’t self-transfer. It’s that simple.
6. How to Actually Book Smart: Tools, Platforms, and Fine Print
Once I’ve decided a self-connection is worth it, I get picky about how I book it. This is where you can quietly protect separate flight bookings without spending a fortune.
Step 1: Start with a protected option
I always begin by searching for a single-ticket itinerary on major platforms or directly with airlines. If the price difference is small, I stop there. Protection is worth paying for.
Step 2: Use comparison tools to explore separate options
Then I look at what I could save with separate tickets using tools like Google Flights, Skyscanner, or specialized sites that build “virtual interline” itineraries. These can reveal clever combos, but I treat them as ideas, not gospel.
Some platforms offer their own “connection protection” for self-transfers. If I consider those, I read the terms carefully:
- What exactly triggers protection? Only long delays? Cancellations?
- Do they cover hotels and meals, or just a replacement flight?
- Do I have to contact them before doing anything myself?
If the protection is vague or full of exclusions, I assume I’m basically on my own.
Step 3: Book with a plan, not just a price
When I finally book, I:
- Keep all confirmations and receipts (screenshots, PDFs, emails).
- Note down booking references for each airline separately.
- Check fare rules for change fees and same-day change options.
Then I ask myself one last question:
If the first flight is delayed by 3–4 hours, what exactly will I do?
If I don’t have a clear answer, I rethink the itinerary. DIY flight connections planning is all about having that backup move ready.
7. Day-of-Travel Strategy: How Not to Panic When Things Go Sideways
Even with a great plan, flights get delayed. Here’s how I manage the day of travel on separate tickets so a small hiccup doesn’t turn into a disaster.
Arrive early for the first flight
I treat the first leg as if it’s the only chance I have. I arrive at the airport early, clear security without rushing, and board as soon as possible. The earlier I’m on that plane, the less likely I am to be bumped or delayed by boarding chaos.
Monitor everything in real time
- Use airline apps and flight trackers to watch for delays or gate changes.
- Check the on-time history of your first flight if you’re nervous.
- Keep an eye on the second flight too; sometimes it’s delayed in your favor.
Have a backup plan ready
Before I even leave home, I usually know:
- What later flights exist on the second route.
- Rough prices for same-day changes or walk-up fares.
- Which nearby airports could work in a pinch.
If a delay hits, I don’t wait passively at the gate. I start checking alternatives immediately and, if needed, get in line for customer service while I search on my phone.
Travel insurance and credit card protections
Some travel insurance policies and premium credit cards offer coverage for missed connections, delays, or trip interruption. But the details matter. I always check:
- Do they cover separate tickets or only single itineraries?
- What counts as a covered reason?
- Do I need documentation from the airline?
Travel insurance for separate tickets won’t magically rebook you, but it can soften the financial blow if you need a hotel or a new ticket.
8. When You Should Absolutely Avoid Self-Connecting
Separate tickets can be smart. They can also be reckless. I personally avoid booking unprotected flight connections when:
- I’m traveling with kids, elderly relatives, or anyone who moves slowly.
- I have checked bags and can’t avoid them.
- I’m heading to a cruise, tour, wedding, or event that can’t be missed.
- I’m flying through an airport known for chaos, long queues, or frequent strikes.
- I don’t have the funds to buy a last-minute replacement ticket if needed.
- Visa or entry rules are complicated, and I’m not 100% sure I can legally enter to re-check bags.
In those situations, I pay more for a protected, single-ticket itinerary and sleep better. The cost vs risk of separate connecting flights just doesn’t balance out.
Separate connecting flights can be a powerful tool: cheaper fares, more flexibility, creative routes. But they also shift almost all the risk onto you.
If you decide to play this game, do it with your eyes open. Avoid the classic mistakes when booking separate connecting flights: build generous layovers, avoid checked bags when you can, choose your airlines and airports carefully, and have a backup plan.
That way, when everyone else is sprinting through the terminal, you’ll be the one strolling to your gate, coffee in hand, quietly pleased with how much you saved—and how safely you did it.