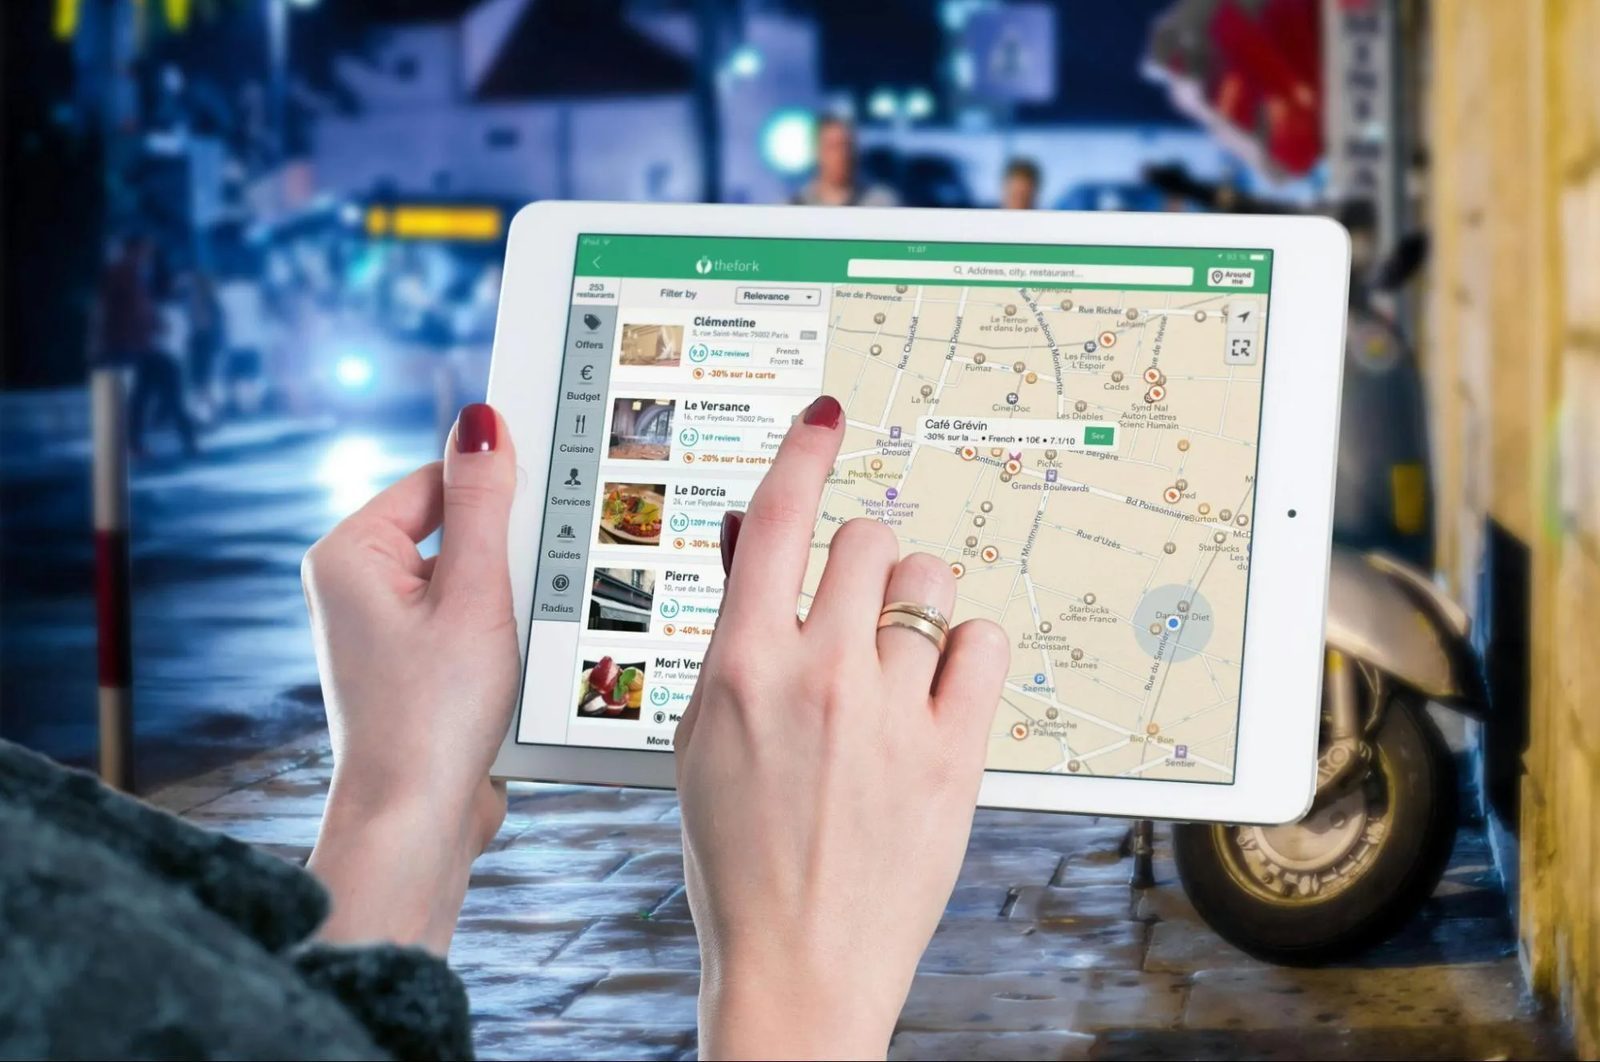
I used to plan trips in the most chaotic way possible: screenshots, random notes, starred places on Google Maps, and a dozen confirmation emails buried in my inbox. It felt like planning, but once the trip started, I was constantly asking myself: Where am I supposed to be next?
If that sounds familiar, this guide is for you. Here’s a simple, repeatable way to organize travel bookings into an itinerary you can actually use—and share—without turning into a spreadsheet robot.
1. Admit the Real Problem: Your Info Is Scattered, Not Missing
Most people think they’re bad at planning. In reality, they’re just bad at centralizing information.
Think about your last trip:
- Flights in your email
- Hotel in a booking app
- Restaurants in a notes app or Instagram saves
- Attractions in Google Maps stars or browser tabs
- Costs in a spreadsheet (if you’re that organized)
Nothing is actually missing. It’s just scattered across tools that don’t talk to each other. That’s why everything feels overwhelming and why your trip itinerary system never quite comes together.
So the first decision is not Which app should I use?
but a much simpler one:
Where will my trip live?
You need one home base. That can be:
- A dedicated itinerary app like Wanderlog, TripIt, Tripsy, or Trip.com’s planner
- A travel platform’s planner (Expedia, Hotels.com) if you book mostly there
- Or, if you’re stubborn, a spreadsheet or shared doc (but I’ll try to talk you out of that)
Once you pick a home, everything else becomes easier. This is how you turn booking emails into a trip plan instead of a pile of screenshots. The rest of this guide assumes you’re using an itinerary tool, but the same logic works even if you insist on doing it manually.
2. Choose the Right Tool for Your Trip Type (Not for Life)
This is where people overcomplicate things. They hunt for the perfect
app for every trip they’ll ever take. You don’t need that. You just need the right tool for this trip.
Based on research and a lot of trial and error, here’s how I’d match tools to trip types:
- Frequent flyers / business trips: TripIt or Google Travel
- They auto-pull flights, hotels, and cars from your email into a structured itinerary.
- TripIt adds real-time flight alerts, gate changes, and calendar sync.
- Group trips & road trips: Wanderlog or SquadTrip
- Wanderlog lets everyone add ideas, see them on a map, and optimize routes.
- SquadTrip adds payments and guest management for retreats or paid group trips.
- Apple ecosystem lovers: Tripsy
- Great if you want calendar sync, iOS/macOS integration, and expense tracking.
- Booking-heavy trips on one platform: Trip.com, Expedia, or Hotels.com planners
- They auto-build your itinerary from bookings you make on their site.
- Good if you like everything under one brand.
- Complex, professional, or luxury itineraries: Travefy, Safari Portal, VacationLabs, TourSoft
- These are more for travel pros, but worth knowing if you’re planning polished trips for others.
If you’re not sure, a safe default for most casual travelers is:
- Wanderlog for collaborative or map-heavy trips
- Tripsy if you’re deep in the Apple world
- TripIt if you fly a lot and care about real-time alerts
The key is to decide once per trip: this is the tool I’m committing to. No half-planning in three different apps, no half-finished spreadsheet on the side. That’s how travel planning organization mistakes start.
3. Dump Everything In: Let Automation Do the Boring Work
Now we turn chaos into raw material.
Your goal in this step is not to organize. It’s just to get every booking and idea into your chosen system as fast as possible. Think of it as a brain dump for your trip.
Use email forwarding and auto-import
Most modern itinerary tools can read your confirmation emails and build the skeleton of your trip:
- TripIt, Tripsy, Wanderlog, and Google Travel all support forwarding confirmation emails.
- Trip.com, Expedia, and Hotels.com auto-import bookings made on their platforms into a unified itinerary.
Forward (or auto-sync) everything:
- Flights
- Hotels / apartments
- Car rentals
- Train tickets
- Tour confirmations
- Event tickets
Yes, even if you think you’ll remember. You won’t. This is the fastest way to centralize flights, hotels, and activities in one itinerary without typing everything by hand.
Add the messy stuff manually
Next, add the things that don’t come with a neat confirmation email:
- Restaurants you’ve bookmarked
- Attractions from blogs or TikTok
- Friends’ recommendations
- Backup options (Plan B cafes, alternative hikes, etc.)
Most tools let you add:
- Notes (for opening hours, dress codes, etc.)
- Links (to menus, blog posts, Google Maps locations)
- Documents (PDF tickets, visa letters, insurance)
Tripsy, for example, is good at storing documents and links alongside each activity. Wanderlog lets you attach notes and see everything on a map. Use those features. They’re not gimmicks; they’re how you avoid digging through your email at the airport.
Don’t organize yet
At this stage, your itinerary will look messy. That’s fine. You’re building a pile, not a plan. The structure comes next. This is the part most people skip, which is why their travel itinerary template for bookings and notes never really works.
4. Turn the Pile into a Timeline You Can Actually Follow
Now we shape the raw data into a day-by-day (or even hour-by-hour) plan.
The goal is simple: at any point during your trip, you should be able to open your itinerary and answer in 10 seconds:
- Where am I supposed to be?
- How do I get there?
- What’s the backup if this falls through?
When your trip gets busy—especially on complex multi-city trips—this is what keeps you sane.
Start with fixed points
Drag and drop (or assign) all the non-negotiable items first:
- Flights and trains
- Hotel check-in / check-out
- Time-specific tours or events
These are your anchors. Everything else has to fit around them.
Then layer in flexible activities
Next, assign your want to do
items to specific days:
- Use morning / afternoon / evening blocks instead of exact times (unless you really need them).
- Group nearby places together to avoid zig-zagging across the city.
Tools like Wanderlog and Sygic help here by showing attractions on a map and optimizing routes. Trip.com’s planner even estimates travel times between stops so you don’t accidentally plan three museums and a hike in one afternoon.
Use light structure, not military precision
Personally, I like to plan days like this:
- Fixed: 2–3 time-bound things (flight, tour, dinner reservation)
- Flexible: 1–3 optional activities in the same area
- Backup: 1–2 low-effort options (a park, a cafe, a viewpoint)
That way, the itinerary guides you without suffocating you. It’s a step-by-step travel itinerary workflow that still leaves room for spontaneity.

5. Make It Shareable (Without Losing Control)
A trip isn’t really organized until everyone who needs the plan can see it.
But here’s the catch: if you just drop a link in the group chat, you’ll end up with 47 comments and no decisions. So you need two things:
- A shareable trip itinerary
- Clear roles for who can change what
Use collaboration features intentionally
Different tools handle this differently:
- Wanderlog lets multiple people edit the same trip, add places, and reorder stops.
- Tripsy has granular guest permissions: co-planners, view-only guests, and a
favorite guest
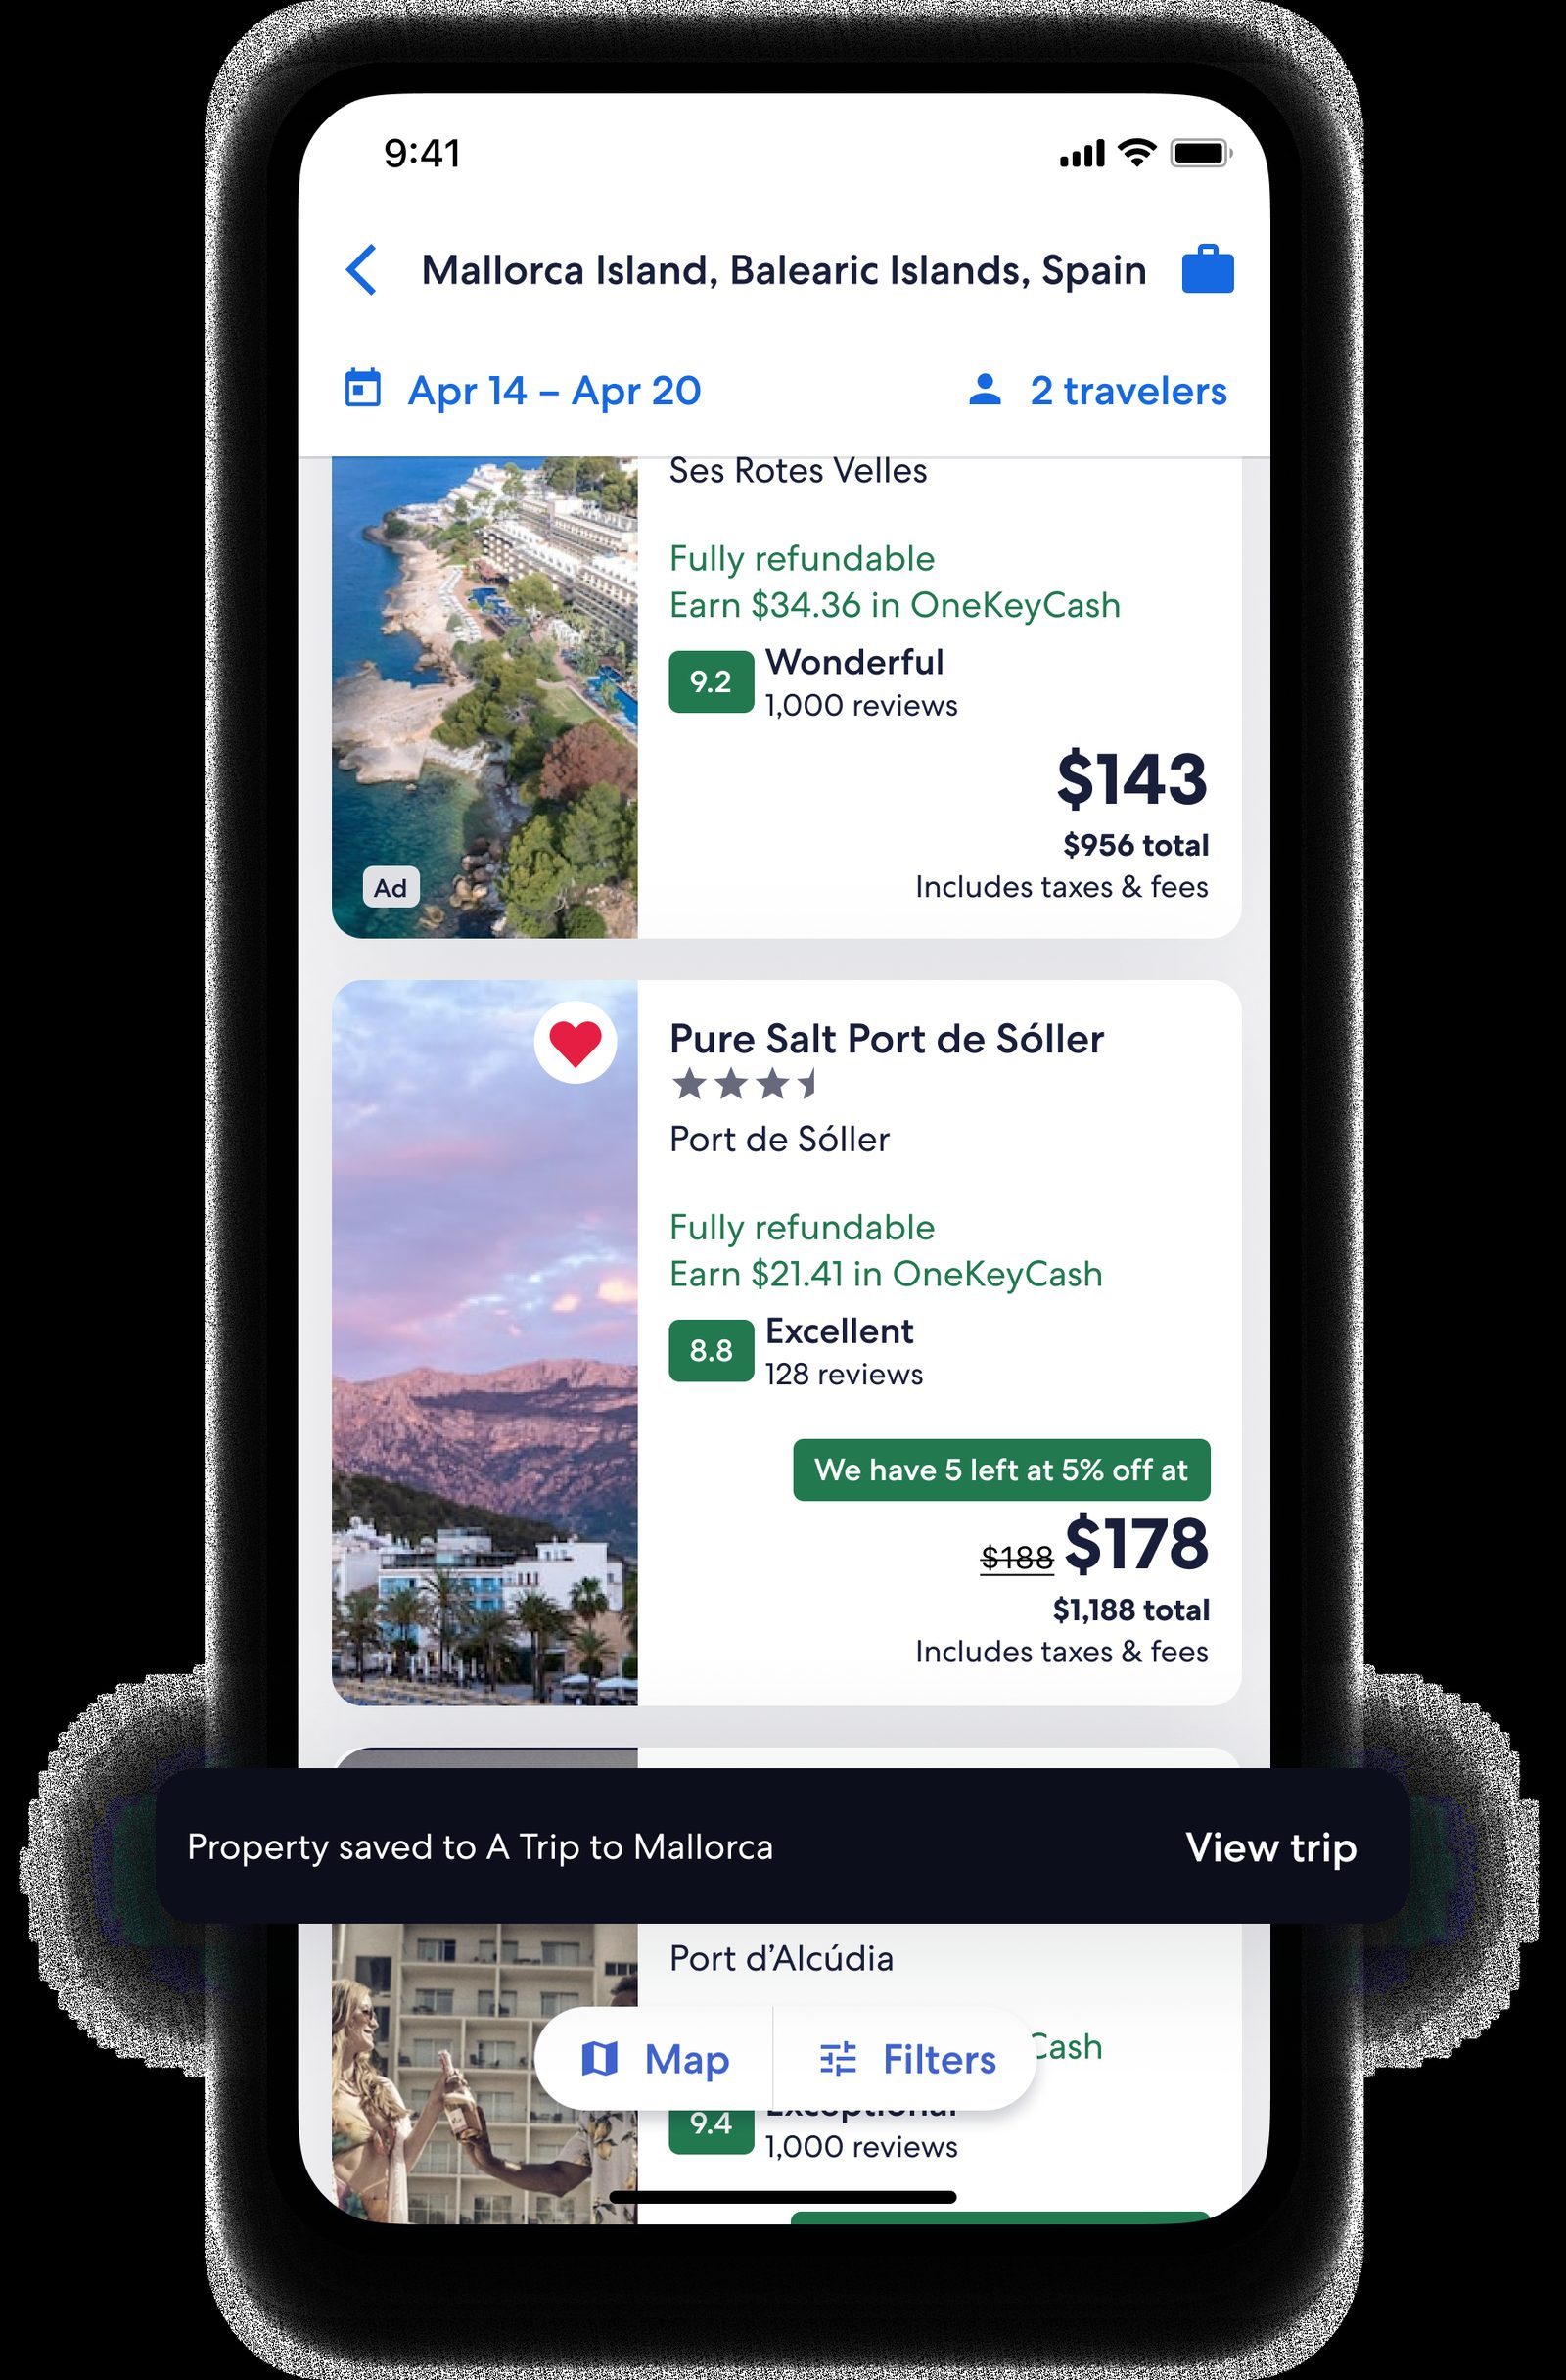
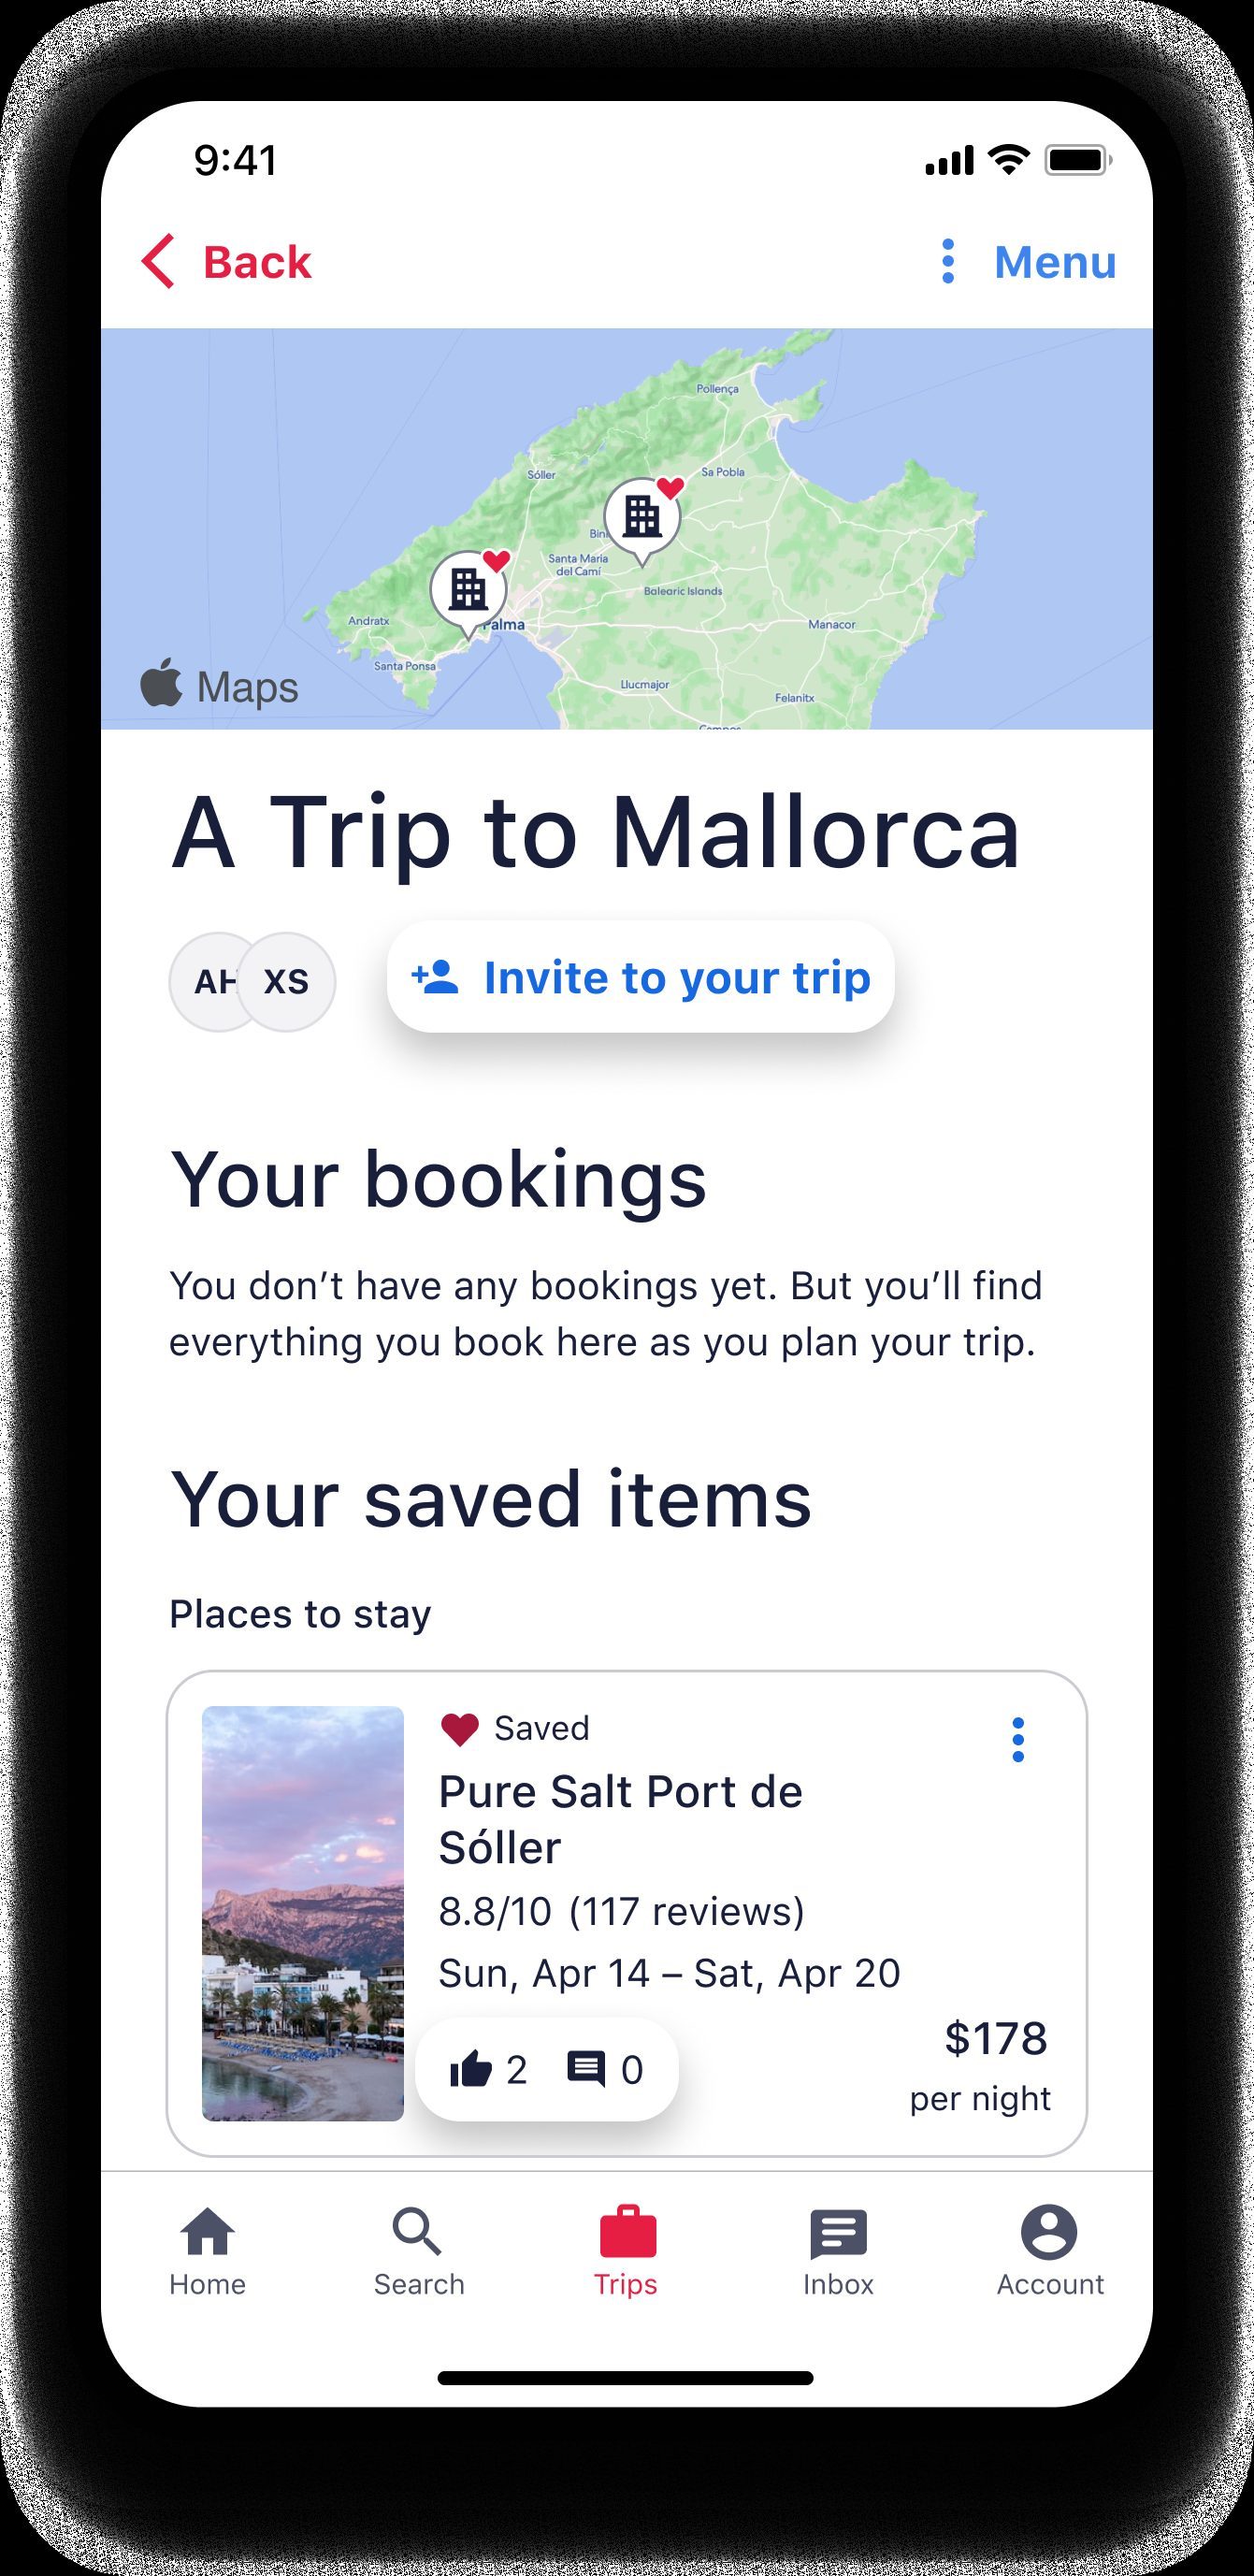
auto-added to new trips. - Expedia and Hotels.com planners let invited travelers comment, like, and add options before you book.
- Trip.com allows sharing itineraries so everyone sees the same timeline and alerts.
Here’s how I usually set it up:
- One or two co-planners: full edit access
- Everyone else: view-only, plus a separate place (WhatsApp, iMessage, etc.) for opinions
This keeps the itinerary clean while still letting people feel involved.
Decide how you’ll handle decisions
For group trips, I like to be explicit:
- Phase 1: Everyone can add ideas to a
Maybe
day or list. - Phase 2: We vote or discuss top picks.
- Phase 3: One person locks the final itinerary and moves extras to a
Backup
section.
Tools like Expedia Trip Planner and Hotels.com Trip Planner are surprisingly good at this early phase: you save options, invite people, and let them like/comment before you commit. It’s a simple way to use tools to combine reservations and notes without letting the plan turn into chaos.
6. Add the Invisible Layer: Money, Documents, and What-Ifs
A lot of itineraries look pretty but fall apart the moment something goes wrong. To avoid that, you need an invisible layer of practicality under the pretty timeline.
Track money where you plan, not in a separate spreadsheet
For group trips especially, money is where resentment grows if you’re not careful.
Some tools help with this directly:
- Tripsy supports multi-currency expense tracking where all guests can add their own expenses.
- SquadTrip is built around pricing, deposits, and guest payment tracking for group trips and retreats.
If your chosen tool doesn’t have built-in expense tracking, at least:
- Add a Budget or Expenses note to each day or activity.
- Include who paid and what the split is.
Attach documents to the right items
Don’t just keep a random Travel Docs
folder in your cloud drive. Attach documents where you’ll actually need them:
- Boarding passes attached to flights
- Hotel confirmations attached to stays
- Tour vouchers attached to activities
- Insurance and visa docs attached to the overall trip
Tripsy and Trip.com’s planner are particularly good at storing documents and making them available offline. This is the layer that turns a nice-looking plan into a reliable trip itinerary system for messy notes and real-world problems.
Plan for disruptions
Some tools act like a digital assistant when things go wrong:
- TripIt and Google Travel send real-time flight alerts, gate changes, and delay info.
- Trip.com adds weather alerts and local advisories.
- PredictWind (for sailing) gives high-resolution marine forecasts and route planning.
Even if you don’t use all of these, at least add:
- Backup flights or routes in a note
- Alternative hotels in case of overbooking
- Offline copies of key details (screenshots or downloaded itineraries)

7. Make It Work Offline and On-the-Go
A beautiful itinerary is useless if it only works on fast Wi‑Fi.
Before you leave, do a quick stress test of your setup. Ask yourself: if my signal drops, can I still see where I’m going next?
Check offline access
Look for features like:
- Offline itineraries: Trip.com’s planner lets you download your itinerary with maps and contact numbers.
- Offline maps: Wanderlog integrates with Google Maps; Sygic offers offline maps for international trips.
- PDF export: Some tools let you export a PDF as a worst-case backup.
At minimum, I always:
- Download offline maps for each city in Google Maps.
- Save a PDF or screenshot of the full itinerary.
- Make sure my main itinerary app is logged in and synced on my phone.
Sync across devices
Most modern tools sync across phone, tablet, and desktop. Trip.com, Wanderlog, Tripsy, and Expedia all do this. Use it to your advantage:
- Plan on desktop (it’s faster).
- Use on mobile during the trip.
- Let travel companions access the same live version.
This is also where calendar integration shines. TripIt, Tripsy, and others can push your flights and key activities into your regular calendar so you don’t double-book your life.
8. Turn This Trip into a Template for the Next One
Once you’ve built one clean itinerary, don’t start from scratch next time. Reuse your work.
Some tools make this easy:
- Trip.com lets you duplicate past itineraries and edit them for new trips.
- TourSoft and VacationLabs are built around reusable trip structures for repeat tours.
- Tripsy tracks your travel history and stats, which makes it easier to see patterns in how you like to travel.
Even if your tool doesn’t support templates, you can still:
- Keep a
Trip Blueprint
with your preferred day structure (e.g., 1 fixed, 2 flexible, 1 backup). - Maintain a list of
packing essentials
andplanning steps
as a checklist in your itinerary app. - Note what worked and what didn’t in a Post-Trip Notes section.
Over time, you’ll stop reinventing the wheel and start refining a system that fits how you actually like to travel. That’s how you go from disorganized trip plans to a personal, reusable itinerary tool for complex multi-city trips and simple weekends away alike.
Bringing It All Together
If you want a simple, repeatable way to go from overwhelmed to organized, here’s the condensed version of the system:
- Pick one home base for your trip (Wanderlog, Tripsy, TripIt, Trip.com, etc.).
- Dump everything in using email forwarding and manual adds. Don’t organize yet.
- Build a timeline around fixed points first, then layer flexible activities and backups.
- Share intentionally with clear roles: a couple of editors, everyone else view-only.
- Add the invisible layer: money, documents, and backup plans.
- Test it offline and across devices before you leave.
- Save your structure as a template for the next trip.
You don’t need to be a spreadsheet person or a planning nerd to have a clean, shareable itinerary. You just need a system that turns your bookings and notes into something you can actually use when it matters: on the road, with spotty Wi‑Fi, and a plane to catch.