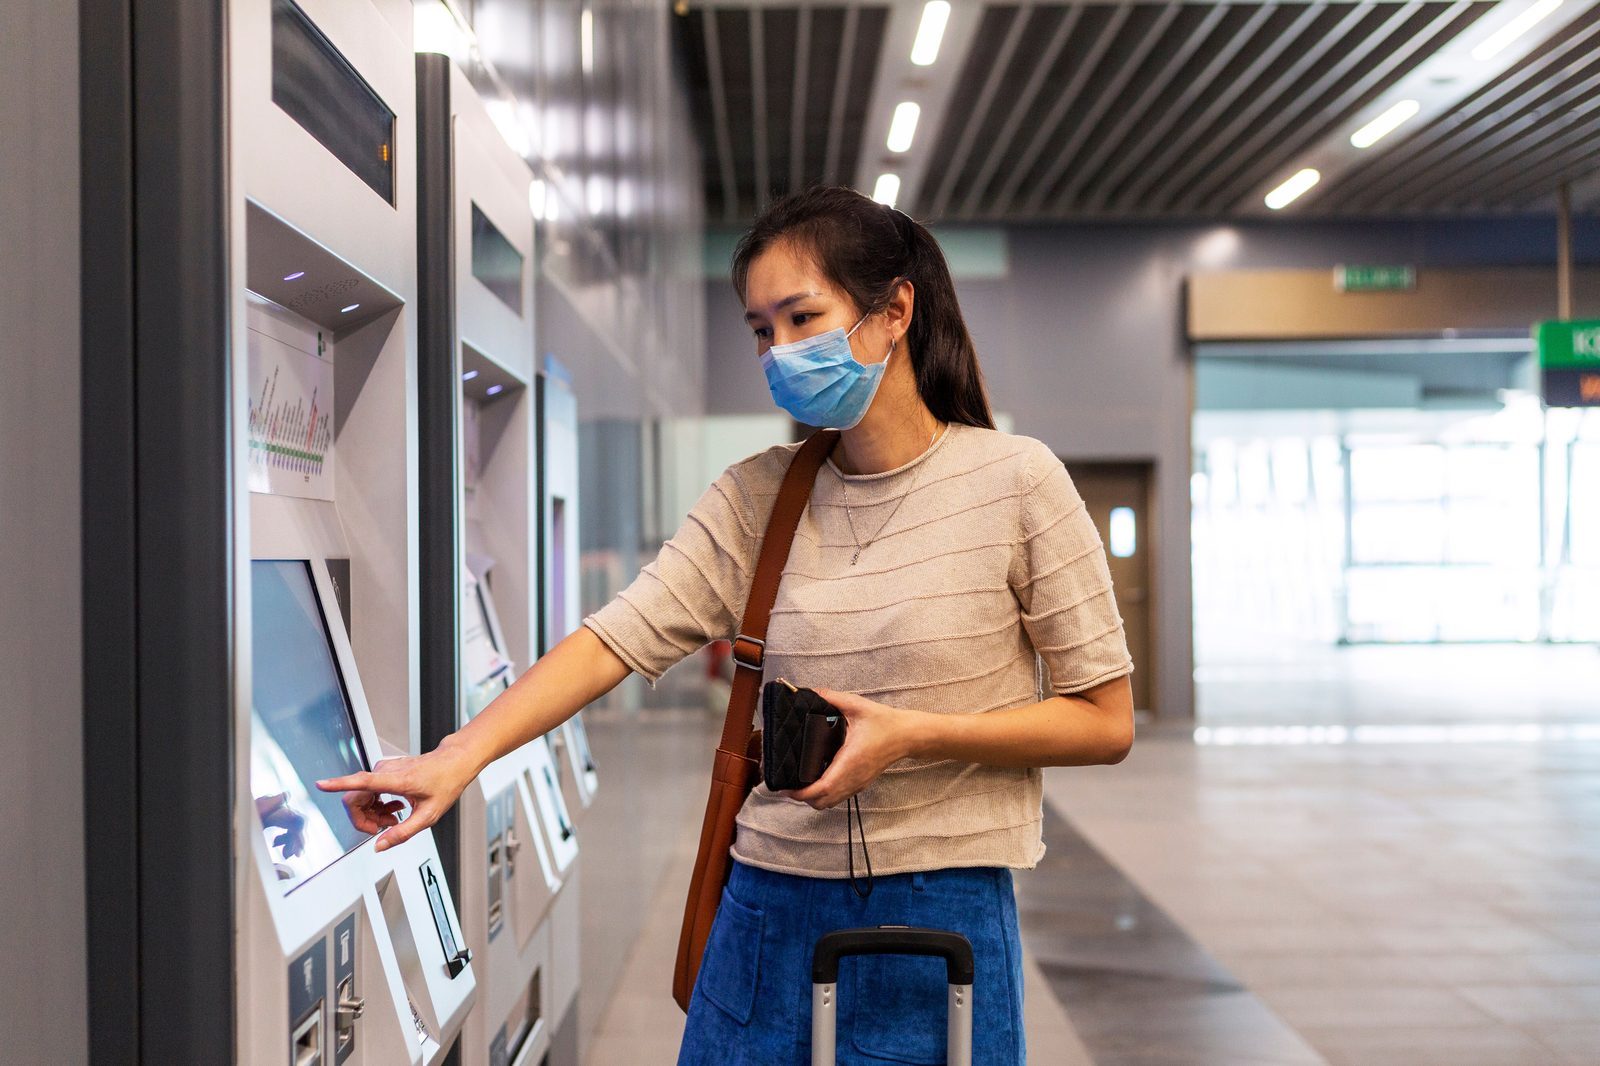
I travel carry-on only for almost every trip now. Not because I’m obsessed with minimalism, but because I hate surprise baggage fees and standing at a carousel while everyone else is already out living their trip.
If you’ve tried carry-on only travel and ended up stressed, overloaded, or forced to gate-check your bag (and pay for it), this system is for you. It’s a simple, repeatable approach that starts before you book the flight and ends when you zip your bag shut at home.
Think of it as a decision tree for carry-on only travel on a budget: at each step, you make one smart choice that saves you money, weight, or stress.
1. Before You Book: Decide If This Flight Even Works for Carry-On Only
Most people start with, “What should I pack?” I start with, “Is this airline going to punish me for bringing a bag at all?”
On some ultra-low-cost airlines, a normal carry-on in the overhead bin is a paid add-on. On others, it’s included. That difference can completely change the carry on vs checked bag cost and wipe out the “cheap” fare you thought you found.
Here’s my pre-booking checklist to avoid airline baggage fees before they ambush you:
- Check the baggage policy before you buy. Go to the airline’s site and find the baggage chart. Look at three things: personal item rules, standard carry-on rules, and whether the cheapest fare includes an overhead bag at all. Articles like this breakdown from AirAdvisor show how quickly fees add up.
- Run a mock booking. Go all the way to the payment page (then stop). Add a carry-on and a checked bag and watch the total. Sometimes a slightly higher fare class with a bag included is cheaper than adding bags à la carte.
- Compare total trip cost, not just the ticket. A $79 fare + $60 in bag fees is not cheaper than a $120 fare with a free carry-on and clear baggage rules.
My rule: if an airline charges extra for a standard overhead carry-on and I have other options, I usually skip it. Why start a trip arguing over a backpack?
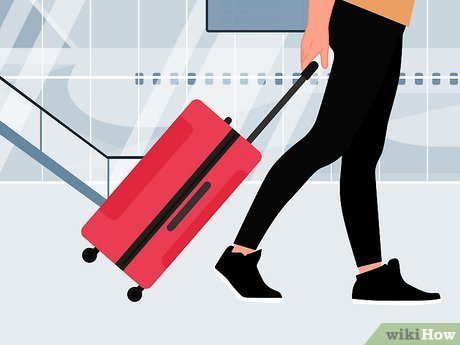
2. Choose the Right Two Bags: Your Real Baggage Allowance
Once I know the airline is carry-on friendly, I treat my allowance as a puzzle: one main carry-on + one personal item. That’s my entire system. If it doesn’t fit in those two, it doesn’t come.
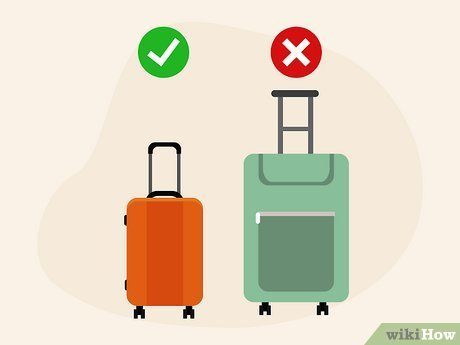
This is where a lot of carry on packing mistakes happen. The wrong bag can cost you money at the gate.
- Pick a bag that actually fits the rules. Many popular suitcases are technically too big once you include wheels and handles. Most airlines hover around 22 x 14 x 9 inches for carry-ons, but always check your specific flight and the carry on size limits for airlines you’re flying.
- Go lighter, not just smaller. A heavy suitcase eats into strict weight limits on international and low-cost carriers. I look for the lightest bag that still feels durable enough to survive overhead bins and cobblestones.
- Max out the personal item. This is where people leave money on the table. A slim backpack or large underseat tote that fits the airline’s dimensions can hold your laptop, toiletries, and a surprising amount of clothing.
- Avoid built-in batteries. Smart bags with non-removable batteries can cause drama at security and at the gate. I’d rather bring a separate power bank I can pull out in two seconds.
Think of your two bags as one carry-on only packing system. I put dense, heavy items (electronics, liquids, chargers) in the personal item under the seat, and lighter, bulkier items (clothes, shoes) in the overhead carry-on.
3. Build a Capsule Packing List: Decide What Actually Earns Its Place
Overpacking doesn’t start in the suitcase. It starts on the packing list.
If you start with, “What might I want?” you lose. I start with constraints and treat it like a budget travel carry on packing challenge.
- Trip length matters less than you think. My baseline is a 7–10 day wardrobe. For longer trips, I plan to do laundry. It’s almost always cheaper than paying checked bag fees both ways.
- Capsule wardrobe only. Every top must match every bottom. Darker colors, quick-dry fabrics, and layers win. One statement piece is fine; five is not.
- Strict shoe limit. I aim for two pairs total: one on my feet, one in the bag. I only go to three if the trip truly demands it (for example, hiking boots + city shoes + sandals).
- Wear your bulk. The heaviest shoes, thickest sweater, and bulkiest jacket go on your body, not in your bag. It’s the easiest way to avoid overweight baggage fees without sacrificing comfort.
Here’s a simple formula that works for many 7–10 day trips (with laundry once):
- 3–4 tops
- 2 bottoms
- 1 dress or jumpsuit (optional but very versatile)
- 1–2 light layers (cardigan, thin sweater, or fleece)
- 1 outer layer (worn on the plane)
- 5–7 pairs underwear, 3–4 pairs socks
- 2 pairs shoes (one worn, one packed)
When I’m tempted to add something, I ask: What will I leave behind to make room for this? If the answer is “nothing,” it doesn’t come.
4. Toiletries and Tech: Shrink the Heavy, Awkward Stuff First
Toiletries and electronics quietly wreck a carry-on only travel on a budget plan. They’re dense, heavy, and awkwardly shaped, so I deal with them early.
Toiletries:
- Go solid where you can. Shampoo and conditioner bars, bar soap, solid deodorant, toothpaste tablets. They last longer, don’t leak, and don’t hit liquid limits the same way.
- Travel sizes only if you’ll actually use them. A full-size bottle of anything is a red flag. I decant into 1–2 oz containers and accept that I might buy more at my destination if needed.
- One small, flat kit. I use a compact hanging toiletry bag so everything is visible and doesn’t explode all over a tiny hotel sink.
Tech:
- One charger to rule them all. A multi-port or foldable 3-in-1 charger replaces a tangle of bricks and cables.
- Be honest about what you’ll use. Will you really edit video on this trip, or is a tablet enough? Every extra device is weight, risk, and mental load.
- Digitize paper. Boarding passes, hotel confirmations, guidebook pages, even copies of IDs live in my phone and cloud storage. Paper is bulky, easy to lose, and rarely worth the space.
My rule here is simple: if it’s heavy and I won’t use it at least twice, it stays home.
5. The Packing Method: Turn a Pile of Clothes into a Tetris Win
Once the list is locked, how you pack starts to matter. Not because of magic folding tricks, but because good structure keeps you from panicking and overstuffing at the last minute.
Here’s the step by step carry on packing guide I use inside the suitcase:
- Packing cubes by category. One for tops, one for bottoms, one for underwear and sleepwear. They act like drawers in your suitcase and lightly compress everything.
- Roll, then cube. I roll most clothes before putting them in cubes. It’s less about zero wrinkles (those will happen) and more about visibility and space.
- Compression only for bulky items. One compression cube or bag for sweaters or puffy layers is enough. Over-compressing everything just creates a dense brick that’s hard to manage and easy to overweight.
- Shoes as containers. I stuff socks or small items inside shoes, then put shoes in a shoe bag to keep dirt off clothes.
Layout inside the carry-on:
- Heaviest items near the wheels so the bag stands upright.
- Cubes stacked like books, not tossed in like a random pile.
- One “grab first” cube or pouch with a change of clothes and essentials in case the overhead bins fill up and your bag gets gate-checked.
This is where a good carry on packing checklist for flights helps. If it’s not on the list, it has to earn its way in.
6. The Personal Item Strategy: Your In-Flight Survival Kit
Most people treat the personal item as an afterthought. I treat it as my “if everything goes wrong” bag.
This is also where the personal item vs carry on comparison really matters. The carry-on can be taken away from you at the gate. The personal item almost never is.
What always goes in my underseat bag:
- Documents and essentials: passport, wallet, phone, and a printed backup of key details if I’m going somewhere with spotty connectivity.
- Medications and must-have toiletries. Anything I can’t easily replace or can’t miss for 24–48 hours.
- Electronics: laptop or tablet, chargers, headphones, power bank.
- One change of clothes. Lightweight underwear, socks, and a fresh top. If my carry-on gets gate-checked and lost, I’m still functional.
- Comfort items: eye mask, earplugs, maybe a thin scarf or extra layer.
I pack this bag so I can reach what I need in-flight without unpacking my life in the aisle. Top pocket: documents and phone. Middle: tech. Bottom: clothes. If I have to pull it out quickly at security or boarding, nothing spills everywhere.

7. The Night-Before Check: Avoiding Last-Minute Fees and Panic
This step isn’t glamorous, but it’s where you avoid the “your bag is overweight, that’ll be $150” conversation at the counter.
Think of it as your final airline baggage fee hacks pass:
- Weigh your bags at home. Use a luggage scale or a normal scale (weigh yourself with and without the bag). Compare to your airline’s limits for both the carry-on and the personal item. Low-cost airline baggage rules can be strict, so don’t guess.
- Do a fast edit. If you’re close to the limit, remove one outfit, one pair of shoes, or the heaviest “just in case” item. You won’t miss it as much as you think.
- Check your pockets and jacket. This is free real estate. I often move a power bank or small items into my coat if I’m flirting with a weight limit. Airlines rarely weigh clothing.
- Confirm your boarding pass and baggage rules one more time. Policies change. A quick look at the airline app or site can save you from outdated assumptions.
When I can lift my carry-on easily into an overhead bin at home, I know I’ll be fine doing it on the plane. If I struggle, that’s my cue to pull something out.
8. After the Trip: Adjust Your System, Not Just Your Stuff
The real power of a carry-on only packing system is that it gets better every time you use it.
When you get home, do a quick debrief while you unpack:
- What didn’t you wear? Those items are on probation for the next trip. They might not deserve a spot in your bag.
- What did you wish you had? Add it to your master packing list, but only if it would have solved a real problem, not a hypothetical one.
- What annoyed you? A toiletry bag that was too big, a suitcase that was too heavy, a charger that didn’t pull its weight—these are system issues, not one-off annoyances.
Over time, you’ll notice something: you stop thinking about baggage fees entirely. You just book, pack, and go. No check-in lines, no carousel, no “will my bag make the connection?” drama.
Carry-on only isn’t about suffering with less. It’s about designing a system where everything you bring earns its place—and everything you don’t bring stops costing you money.