I used to think the expensive part of a trip was the flight and the hotel. Then I started tracking what I actually spent in the first 24 hours after landing.I didn’t like what I saw.
Those first hours are when you’re tired, excited, and not exactly in a spreadsheet mood. That’s also when airlines, airports, hotels, and banks quietly skim from your budget.
In this guide, I’ll walk through the hidden costs that hit you right after you land and how to build a realistic First 24 Hours Travel Budget
so you’re not bleeding cash before the trip even starts.
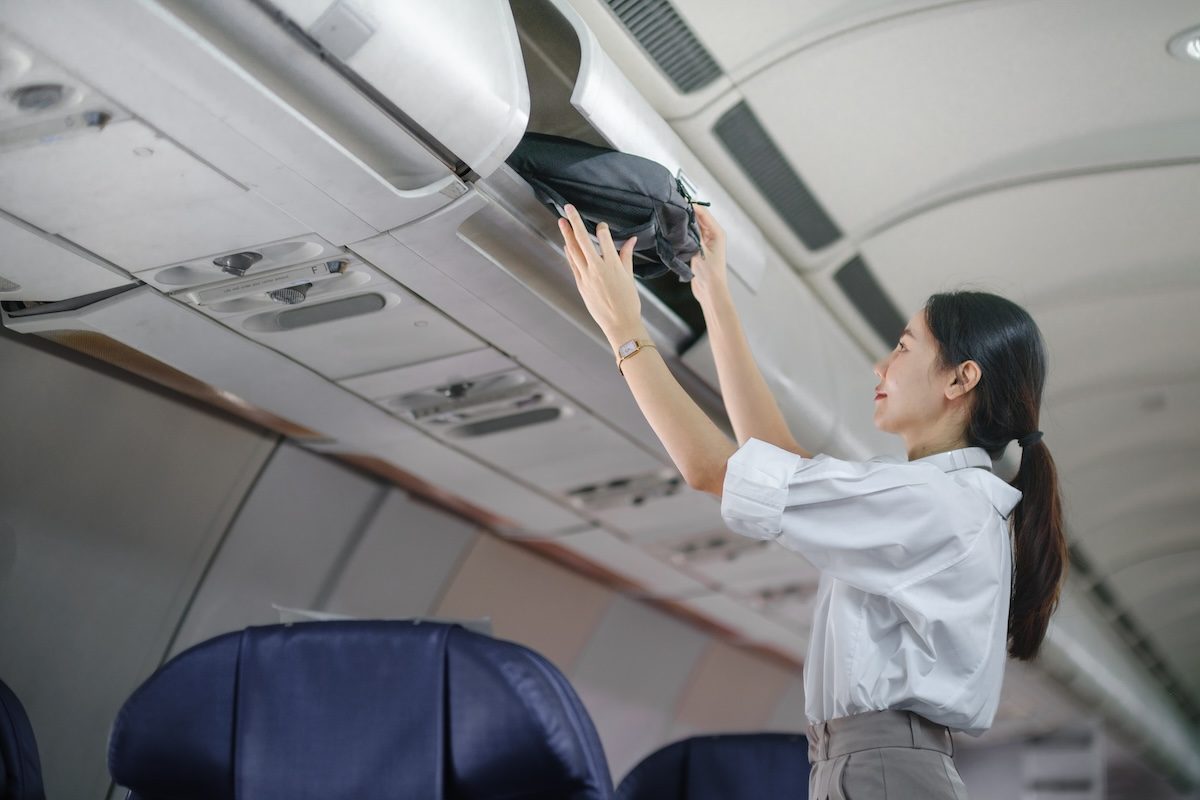
1. The Flight Isn’t Over When You Land: Post-Booking Airline Costs
Most people close their flight tab and mentally mark it as paid.
I don’t. With airlines built on ancillary fees, the money drain often continues right up to boarding and even after you land.
Here’s what I now assume can still hit my wallet in the first 24 hours around arrival:
- Last-minute baggage surprises – Overweight bag? Misread the rules? That can be $75–$150+ per bag. Some carriers even charge for carry-ons at the gate.
- Seat changes at the airport – Want to sit together as a family or escape a middle seat? That usually means paying for seat selection you skipped online.
- Onboard food and drinks – Many airlines now charge for snacks, soft drinks, and even basic meals. If you land hungry, you’ve already overspent before you reach the city.
- Change fees and fare differences – Missed connections, delays, or a last-minute change of plan can trigger rebooking costs, especially on ultra-low-cost carriers.
The tricky part? Most flight search tools show only the teaser
base fare. The real price shows up when you walk through the airline’s own booking flow all the way to the payment page. That’s where you finally see the upsells, baggage rules, and seat fees laid out.
How I budget for this in the first 24 hours:
- I simulate a full booking on the airline’s site and note every fee I’d realistically pay (bag, seat, food, Wi‑Fi).
- I add a small “airline chaos buffer” (usually $25–$50 per person) for things like overweight bags or last-minute seat changes.
- I pack snacks and a refillable bottle so I’m not forced into overpriced airport or onboard food.
If you want to see how extreme these add-ons can get, tools and trackers like those discussed on airline fee trackers are eye-opening.
2. Airport to Bed: The Real Cost of Just Reaching Your Room
Most travelers underestimate the cost of simply getting from the airport to their first bed. This is where fatigue and poor planning get expensive.
Think about your last arrival. Did you:
- Grab the first taxi in the line without checking the fare?
- Use roaming data to order a rideshare at international rates?
- Pay for an airport train or bus you hadn’t budgeted for?
In many cities, the airport to hotel cost can rival a night in a budget room. Add late-night surcharges, tolls, or surge pricing, and your supposedly cheap
trip starts looking different.
What I do before I land:
- Research 2–3 transfer options (train, bus, rideshare, taxi) and note realistic prices, not just the cheapest theoretical one.
- Check if my hotel or rental charges for parking if I’m renting a car. In some U.S. cities, that’s $25–$70 per night, which can blow up a rental-car plan.
- Decide in advance:
If I land exhausted at 11 p.m., I will still take X, not the first taxi that waves at me.
Then I add a line in my First 24 Hours Travel Budget:
- Airport transfer (realistic option): $X
- Parking / tolls / late-night surcharge buffer: $Y
That way, when I’m tired and tempted to overspend, I already know what I planned to pay.

3. Check-In Shock: Hotel, Resort & Rental Fees You Don’t See Coming
You think you booked a $150 room. At checkout, it’s closer to $200. What happened? Fees.
Even with the FTC’s new rule on upfront fee disclosure in the U.S., hotels and rentals can still charge a lot of extras. They just have to show them more clearly. That doesn’t mean you’ll notice them when you’re skimming on your phone at midnight.
Here’s what I now assume might hit in the first 24 hours at a hotel or rental:
- Resort / destination / amenity fees – Often $20–$50 per night for things like Wi‑Fi, pool, gym, or
resort amenities
you may not even use. - Parking – Urban hotels can charge $25–$70 per night, sometimes even if you barely use the car.
- Early check-in – Arrive in the morning? Some places charge a fee to access your room early instead of letting you store bags for free.
- Short-term rental cleaning fees – On platforms like Airbnb or Vrbo, cleaning fees can rival or exceed the nightly rate, especially for short stays.
How I protect my first 24 hours budget:
- I always scroll to the final price breakdown before booking and note nightly rate vs. taxes vs. fees.
- I calculate the real nightly cost: (total price including fees) ÷ (number of nights). If that number feels high, I keep searching.
- I email or message the property with one blunt question:
Are there any additional fees I’ll pay at check-in or checkout that aren’t shown in the total price?
Then I add to my arrival day travel budget:
- Night 1 room + taxes + resort/amenity fees: $X
- Night 1 parking (if applicable): $Y
That’s the real cost of your first night, not the number in the big bold font on the booking page.
4. Money Leaks: Cards, Cash, and Foreign Transaction Fees
One of the sneakiest first-day costs is simply accessing your own money.
Here’s what quietly eats into your budget in the first 24 hours abroad:
- Foreign transaction fees – Many credit cards charge around 3% on every purchase in a foreign currency.
- ATM fees – You might pay your bank’s fee, the foreign bank’s fee, and a bad exchange rate on top.
- Dynamic currency conversion – When a terminal asks,
Pay in your home currency?
and you say yes, you often get a worse rate than if you’d paid in local currency.
On day one, you’re buying transport, food, maybe a SIM card, maybe attraction tickets. If every transaction is quietly taxed by 3% or more, your international trip arrival day budget is higher than you think.
What I do before I fly:
- Carry at least one no-foreign-transaction-fee card for purchases.
- Use a debit card with low or reimbursed ATM fees and plan 1–2 larger withdrawals instead of many small ones.
- Train myself to always choose “Pay in local currency” on card terminals.
In my First 24 Hours Budget, I add:
- Initial cash withdrawal (including estimated ATM fees): $X
- Card fee buffer (if I don’t have a no-FTF card): maybe 2–3% of expected day-one spend
It’s not glamorous, but this is the difference between a trip that feels affordable and one that quietly bleeds you dry.

5. Food, Tips, and the First Grocery Run
The first 24 hours are when you’re most likely to overspend on food. You’re tired, you don’t know the area, and you’re hungry now.
Here’s what usually happens if you don’t plan:
- You grab overpriced airport snacks because you didn’t eat on the plane.
- You take the first restaurant near your hotel, which is often a tourist trap.
- You forget about tipping norms (especially in the U.S., where 15–20% is standard) and your bill jumps.
- You realize you need water, snacks, maybe breakfast items, and end up buying them at a convenience store with tourist prices.
How I handle food in the first 24 hours:
- I plan one simple, realistic meal near my accommodation that isn’t a tourist trap. I look it up on maps in advance.
- I budget for a first grocery or supermarket run for water, snacks, and maybe breakfast for the next day.
- If I’m in a tipping culture, I mentally add 20% to restaurant prices when I’m planning.
In my travel budget for the first day abroad, I include:
- Airport/arrival snacks & drinks: $X
- First proper meal (with tip/tax): $Y
- First grocery run: $Z
Once those are accounted for, I’m not surprised when the first day’s food costs more than I’d like. I already planned for it.

6. Tiny Things That Add Up: SIMs, Data, Tickets, and “Just in Case” Buys
The first 24 hours are full of small, it’s only a few dollars
decisions. Those are the ones that wreck a tight budget.
Here are the usual suspects:
- SIM card or eSIM – You might pay a premium at the airport instead of buying online in advance.
- Public transit cards or passes – Day passes, reloadable cards, or airport surcharges you didn’t factor in.
- First attraction or city pass – Maybe you hit a museum or viewpoint on day one and forget to include it in your budget.
- Emergency buys – Umbrella, adapter, sunscreen, toiletries you forgot, or a quick pharmacy run.
Individually, none of these are huge. Together, they can easily add $30–$100 to your first day in hidden arrival costs.
How I plan for this:
- I decide before I land how I’ll handle data: roaming, local SIM, or eSIM, and I check prices.
- I list any must-do day-one activities (like a city pass or timed ticket) and include them in the budget.
- I add a small “first-day supplies” line for forgotten items and small emergencies.
These aren’t mistakes; they’re just normal human needs. The problem is pretending they don’t cost money.
7. Build Your Own First 24 Hours Budget (So You Don’t Need a Credit Card Rescue)
Most people only realize their arrival day travel costs were unrealistic when the credit card bill arrives. I prefer to find out before I book.
Here’s a simple way to build a First 24 Hours Budget that actually matches reality:
- List every category that can hit you on day one:
- Airline extras (bags, food, seat changes)
- Airport transfer + parking/tolls
- Night 1 lodging + taxes + fees
- Food (snacks, first meal, groceries)
- Money access (ATM fees, card fees)
- Connectivity (SIM/eSIM, data)
- Activities or passes (if any)
- Supplies & emergencies
- Assign realistic numbers to each, not best-case scenarios. Use real quotes, not guesses.
- Add a cushion – 10–20% on top of your total for delays, price changes, or small mistakes.
- Check it against your overall trip budget – If day one is already eating too much, you have options:
- Choose cheaper accommodation for the first night.
- Pick a cheaper transfer option.
- Cut paid activities from day one and move them later.
If you like structure, tools like vacation or travel budget calculators (for example, those described on this free travel budget calculator or this vacation budget calculator) can help you plug in your numbers and see if your plan is realistic.
The point isn’t to predict every cent. It’s to stop pretending the first 24 hours are cheap just because you already paid for the flight.
8. The Mindset Shift: Treat Day One as Its Own Mini-Trip
When I started treating the first 24 hours as a separate mini-trip with its own budget, a few things changed:
- I stopped being surprised by resort fees, parking, and transfers.
- I made calmer decisions at the airport because I already knew what I’d planned to spend.
- I used my main trip budget for actual experiences, not avoidable friction costs.
So before your next trip, ask yourself:
If I wrote down everything I’ll realistically spend in the first 24 hours after landing, would I still feel good about this trip’s budget?
If the answer is no, that’s not a failure. It’s a warning light. Adjust now, while everything is still theoretical, instead of letting your first day quietly wreck the rest of your travel plans.
Your trip doesn’t go over budget in one big moment. It leaks away in the first 24 hours through hidden arrival fees and charges. Plug those leaks, and the rest of your journey gets a lot more fun.