I used to treat “travel money” as an afterthought. Grab some cash at the airport, swipe whatever card I had, and deal with the damage when the statement arrived. Then I started running the numbers. Between foreign transaction fees, weak exchange rates, and sneaky ATM markups, I was losing 5–10% of every trip for no real reason.
This guide is how I fixed that. It’s not about extreme hacking or juggling ten different cards. It’s about building a simple, resilient, no-fee (or almost no-fee) travel wallet that works in most countries, most of the time.
As you read, keep one question in mind: What am I actually paying for every time I tap, swipe, or withdraw abroad?
Once that’s clear, your international travel payment strategy almost builds itself.
1. Decide Your “Default Payment”: Credit, Debit, or Cash?
The first choice is basic but important: what will you use for 80–90% of your spending? For most people, that should be a credit card without foreign transaction fees on a major network like Visa or Mastercard.
Why lead with credit?
- No FX fee (if you pick the right card): you avoid the usual 1–3% foreign transaction surcharge that many banks still add (NerdWallet has solid examples).
- Better protection: disputes, fraud protection, and chargebacks are usually stronger on credit than on debit.
- Rewards: points, miles, or cashback on money you were going to spend anyway.
- No immediate hit to your bank balance: handy when a hotel or rental car company places a big temporary hold.
Debit cards and cash still matter, but I treat them as supporting actors
in my fee free travel card strategy:
- Debit card: my tool for withdrawing local cash at ATMs, ideally with no foreign transaction fees and low (or reimbursed) ATM charges. A travel debit card with no foreign fees or a multi-currency card like Wise or Revolut often gives excellent rates and low fees (Monito has a good breakdown).
- Cash: for small purchases, cash-only spots, markets, and places that surcharge cards. Useful, but not my main payment method.
The key idea: pick one primary card that is explicitly “no foreign transaction fee” and widely accepted. Everything else in your no fee travel wallet exists to support that card.
2. Build Your Card Stack: How Many Cards, Which Networks, What Features?
Once you know your default, the next step is redundancy. Cards fail. Networks go down. Fraud systems get overprotective. I assume at least one thing will go wrong on every trip.
My baseline setup looks like this:
- 1–2 primary credit cards with no foreign transaction fees (different issuers, ideally different networks: one Visa, one Mastercard).
- 1 travel-optimized debit card for ATM withdrawals (no FX fee, low or reimbursed ATM fees, Visa/Mastercard network).
- 1 backup debit card from a different bank, kept separate from my main wallet.
When I compare options for a low fee travel banking setup, I look for:
- No foreign transaction fees on purchases.
- Fair exchange rate: cards that use the Visa/Mastercard rate without extra hidden markups.
- ATM policy: do they charge their own fee? Do they reimburse third-party ATM fees worldwide (some premium checking accounts highlighted by FinanceBuzz do this)?
- Security controls: instant freeze/unfreeze, real-time alerts, easy PIN reset, 24/7 support (SmartWalletSaver emphasizes this for good reason).
- Rewards that fit your life: miles if you fly often, cashback if you don’t care about points.
There’s no single “best” travel card. A UK traveler using Curve or Monzo will build a different stack than a US traveler with a Schwab debit card and a no-FX-fee Visa. The point is to design a stack where:
- One card is your everyday workhorse.
- Another can instantly replace it if something breaks.
- Your debit card is optimized for cash, not everyday purchases.
Think of it as your personal international travel payment strategy, not a random pile of plastic.
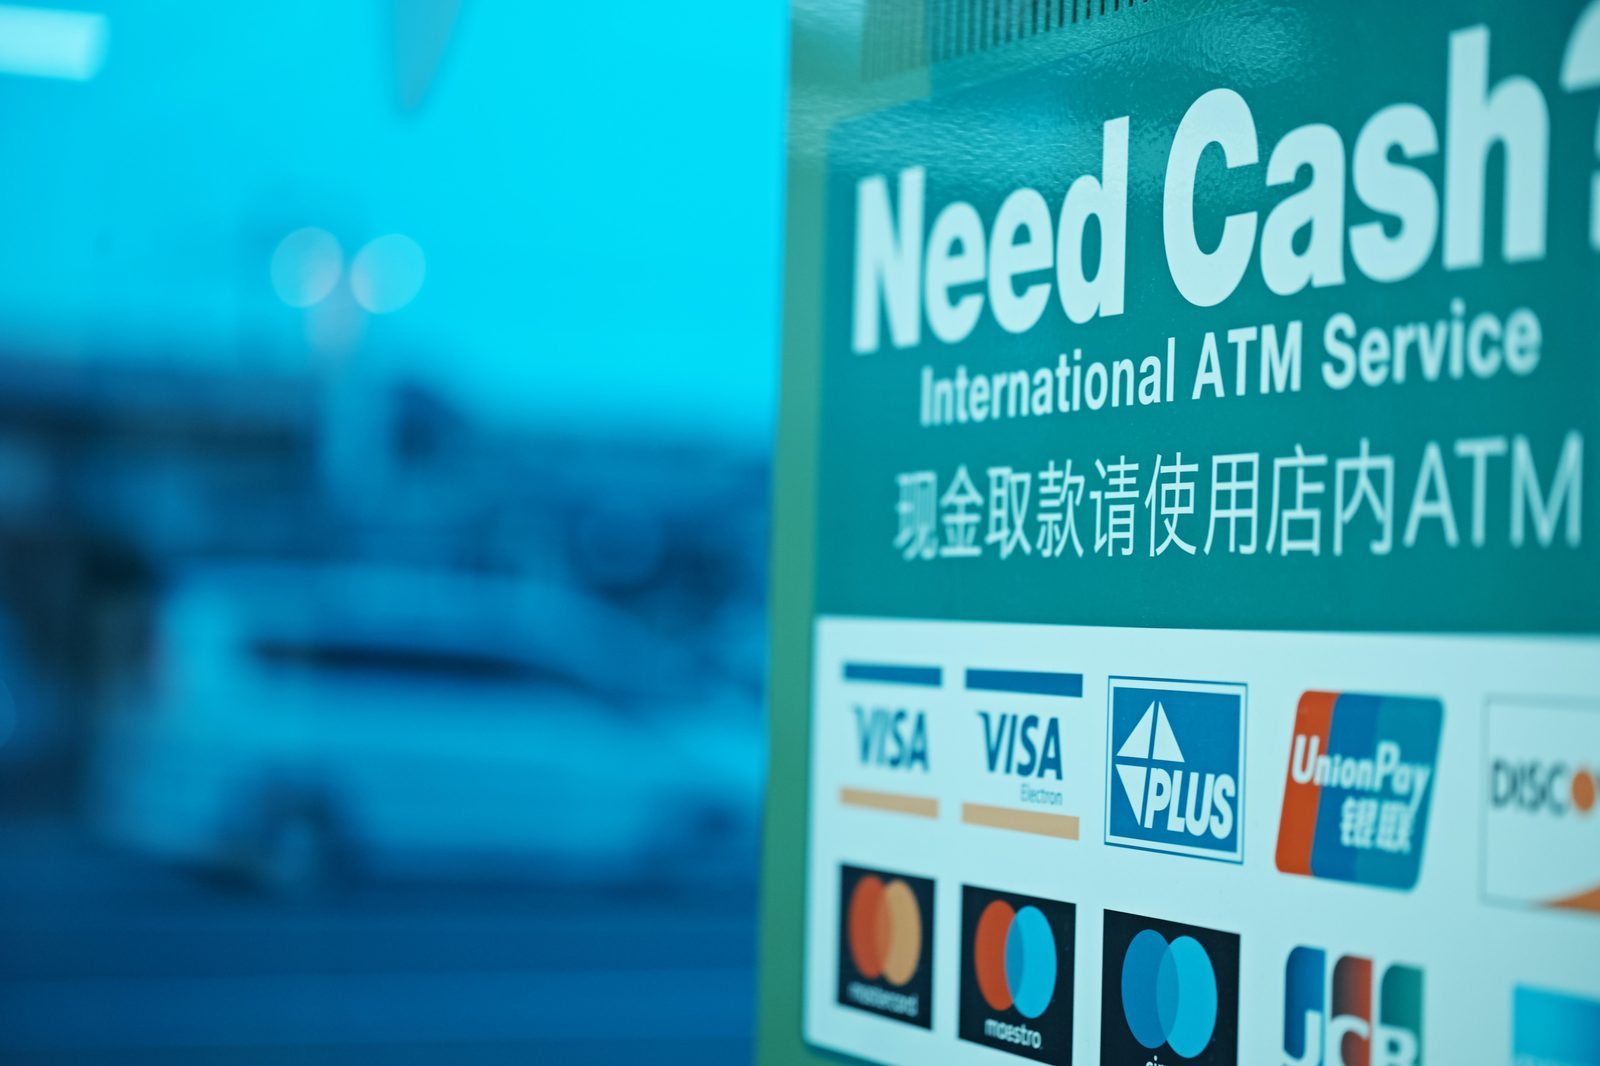
3. Crack the ATM Strategy: Where, How Much, and How Often?
ATMs are where many travelers quietly bleed money. You see a small fee on the screen and think, Whatever, it’s just a few dollars.
But stack that with your bank’s foreign ATM fee, a foreign transaction fee, and a weak exchange rate, and you’re suddenly paying a lot just to access your own cash.
Here’s how I handle no fee ATM withdrawals abroad (or as close as I can get):
- Use bank ATMs, not random tourist machines.
I look for ATMs inside or attached to real banks, not standalone machines in tourist zones or convenience stores. These usually offer better rates and fewer surprise fees. Guides from Eskimo Travel and Flightips say the same: bank ATMs beat exchange booths most of the time. - Plan your withdrawals.
I’d rather make fewer, slightly larger withdrawals than lots of tiny ones. That keeps per-withdrawal fees down. But I don’t pull out so much that I’m nervous carrying it. For me, that’s usually 2–4 days of expected cash spend at a time. - Know your card’s rules.
Before I travel, I check: foreign ATM fee, foreign transaction fee on withdrawals, daily limit, and whether my bank refunds ATM operator fees. Some accounts do this worldwide, which is huge for budget travel money management. - Use the right card for the job.
I almost never use a credit card for cash advances. The fees and interest are brutal. Debit or multi-currency cards only for ATMs.
One more thing: I don’t chase the last cent of savings. If I’m exhausted and there’s a reputable bank ATM in front of me, I’ll use it. The goal is low friction, low fees, not perfection.

4. Beat the Hidden Killer: Dynamic Currency Conversion (DCC)
If there’s one trick I wish every traveler understood, it’s this: always pay in the local currency.
Dynamic Currency Conversion (DCC) is when a terminal or ATM says something like:
Would you like to be charged 100 EUR or 112 USD?
It looks helpful. It isn’t. When you choose your home currency (USD, GBP, etc.), the merchant or ATM operator gets to pick the exchange rate. That rate is almost always worse than what Visa or Mastercard would give you. The markup can be 3–10% or more, on top of any other fees.
To avoid classic dynamic currency conversion mistakes, I follow a few simple rules:
- At stores and restaurants: always choose the local currency on the terminal, even if the cashier nudges you toward your home currency.
- At ATMs: if you see a screen offering a “guaranteed rate” or “conversion service,” decline it. You want your bank or card network to handle the conversion, not the ATM.
- If someone presses the wrong option “by accident”: I ask them to cancel and rerun the transaction. If they refuse, I seriously consider walking away unless it’s unavoidable.
Once you get used to it, this becomes automatic: local currency good, home currency bad when you’re abroad.
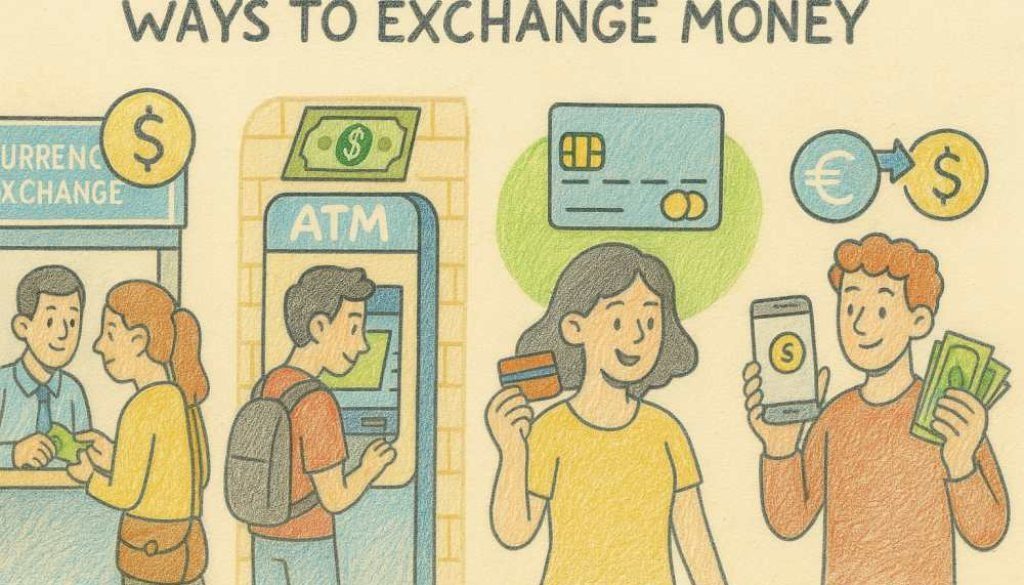
5. Balance Cash vs. Cards: How Much Cash Do You Really Need?
There’s always a tension here:
- Too little cash, and you’re stuck when a card terminal dies or a taxi is cash-only.
- Too much cash, and you’re carrying a theft magnet and missing out on rewards.
To balance the cash vs card abroad costs, I start with two questions about my destination:
- Is it a card-first or cash-first culture?
In some places (Nordics, parts of the UAE, big cities in Western Europe), you can live almost entirely on cards. In others, cash is still king for markets, taxis, and small shops. I check recent blogs, Reddit threads, and official tourism sites to get a feel. - What’s my daily “cash-only” spend likely to be?
Street food, small cafes, local buses, tips, markets. I estimate a daily number and multiply by 2–4 days to decide my typical withdrawal size.
My personal rules of thumb:
- Arrive with a small amount of local cash (or a major currency like EUR/USD if local cash is hard to get in advance) for day one: transport, a snack, a SIM card.
- Use ATMs for the rest, not airport exchange booths, unless I’m truly stuck.
- Avoid withdrawing a huge “just in case” stash. I’d rather hit an ATM again in a few days than worry about losing a thick envelope of bills.
- Don’t obsess over using up every last coin. I’d rather leave with a small leftover than pay to convert tiny amounts back, especially for niche currencies.
Think of cash as a tactical tool, not the center of your budget travel money management.
6. Add Digital Layers: Multi-Currency Apps, Virtual Cards, and Wallets
Modern travel cards and apps can quietly save you a lot of money and stress. You don’t need every gadget out there, but having at least one smart, app-connected card in your wallet makes life easier.
Here’s what these tools can do for your no fee travel wallet:
- Multi-currency balances: hold EUR, GBP, JPY, etc., and spend directly in those currencies at near mid-market rates (Wise, Revolut, and others do this well).
- Real-time spend tracking: see every transaction instantly, in both local and home currency. Great for catching fraud early and staying on budget.
- Virtual cards: generate disposable card numbers for risky online bookings or unfamiliar merchants.
- Instant freeze/unfreeze: if you misplace your card, you can lock it in seconds from your phone.
- Digital wallets: Apple Pay, Google Pay, etc. If your physical card is lost, you may still be able to pay with your phone while waiting for a replacement.
Some “smart” travel cards (like Curve and similar products) even let you link your existing cards and route foreign transactions through a low-fee layer, so you don’t have to open a new bank account. As Curve’s guide points out, the real value is combining low fees, control, and rewards in one place.
One practical note: all of this depends on reliable internet. I usually grab an eSIM or local SIM so I can always access my banking apps, check live rates, and freeze cards if needed.

7. Build in Resilience: Backups, Safety, and Reporting Rules
A “no-fee” travel wallet is useless if you can’t access it when something goes wrong. So I design for failure from the start.
My resilience checklist:
- Separate storage: I keep one backup card and some emergency cash in a different place (hotel safe, hidden pocket, separate bag). If my main wallet disappears, I’m not stranded.
- Document everything: I store card numbers, bank phone numbers, and copies of my passport in an encrypted note or password manager. If I need to call and cancel cards, I don’t want to guess.
- Bank notifications: I turn on transaction alerts and sometimes tell my bank my travel dates, especially for more conservative institutions that still block “suspicious” foreign charges.
- 24/7 support: I favor banks and card issuers with round-the-clock support. When something breaks, it’s rarely during business hours back home.
There’s also a quieter piece that many people ignore: regulatory and tax rules. If you’re a US citizen, for example, holding more than $10,000 equivalent in foreign bank accounts can trigger FBAR reporting requirements. Other countries have their own rules about foreign accounts and taxable interest. I’m not a tax advisor, but I do make sure I’m not accidentally creating a compliance headache just to save a few ATM fees.
In other words: optimize, but don’t overcomplicate. A simple, compliant setup you fully understand beats a hyper-optimized one you can’t manage under stress.
8. Put It All Together: Your Personal No-Fee Travel Wallet Blueprint
Let’s turn this into something you can actually use. Here’s a template I run through before each international trip when I’m planning how to pay abroad without extra fees:
- Pick your primary card.
One no-foreign-transaction-fee credit card (Visa or Mastercard) that you’ll use for almost all purchases. - Choose your ATM workhorse.
One debit or multi-currency card with low/no FX fees and fair ATM terms. Confirm limits and fees before you go and compare them to your other cards for your own mini international ATM fee comparison. - Add backups.
At least one backup credit card (different issuer/network) and one backup debit card, stored separately. - Define your cash strategy.
Decide how much cash you’ll carry on arrival, your typical withdrawal size, and where you’ll find safe bank ATMs. This is where budgeting for bank fees on international trips becomes real, not theoretical. - Set your DCC rule.
Commit now: always choose local currency at terminals and ATMs. No exceptions. This one habit avoids a huge chunk of common travel money mistakes to avoid. - Enable digital tools.
Install banking apps, enable alerts, set up digital wallets, and test login from your phone before departure. - Prepare for failure.
Separate cards and cash, store emergency info securely, and know how to contact your banks from abroad.
If you do just these steps, you’ll already be ahead of most travelers. You’ll avoid the obvious fees, dodge the sneaky ones, and still have a system that works when something breaks.
So, what’s the weakest link in your current travel wallet? Fix that first. Then, trip by trip, refine the rest until foreign fees are something other people complain about—while you quietly keep that money for yourself.